First of all, we need to disassemble the iPhone 7 Plus. Use screwdrivers to remove the two bottom screws located next to the lightning connector, put iPhone 7P on the LCD Screen Heating Pad to heat for a while, and then open the iPhone, take off the iPhone display assembly and disconnect the iPhone battery, final remove the iPhone motherboard.

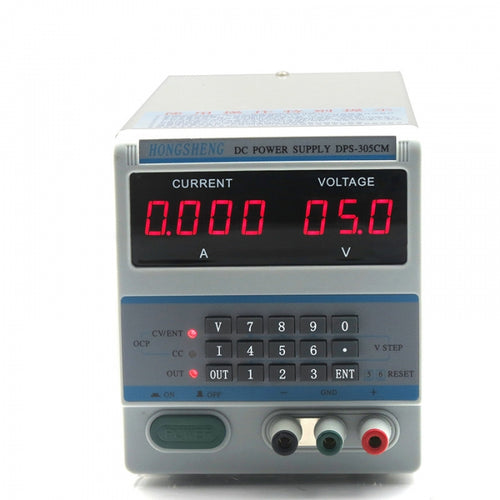
Now we need to use PCB cleaner to clean up the moldy area on the iPhone motherboard, and then connect iPhone motherboard with DC power supply to measure the iPhone boot current, the current value measured is larger than normal, which means that there is a short-circuit on the iPhone motherboard.
Disconnect the iPhone motherboard from the DPS DC power supply, and use digital multimeter to measure the diode data of the two sets of main power supplies (PP_BATT_VCC and PP_VDD_MAIN), both value measured are normal.
Now we are going to check several power supply circuits that outputted by PMU, put iPhone motherboard under the Stereo Zoom Microscope, and then measuring the diode data of these capacitors that on these power supply circuits by digital multimeter, the measured value of C2301 and C2308 on PP_VDD_BOOST are 0, which is abnormal.
Based on the above tests, we know that the PP_VDD_BOOST is short-circuited to ground.
Connect WUXINJI Dongle to the computer, and then open the software to check iPhone schematic diagram, we can see that PMU U1801, U3101, U2501, U3001, U3702 and several filter capacitors are associated with this PP_VDD_BOOST.

Apply rosin to associated parts on the iPhone motherboard by soldering iron, then use two lead probe needle tips to connect the DC power supply, adjust the voltage of the DC power supply to 3V.
Put the black lead tip grounded, and then use red lead tip to touch the pin 1 of C2308, the rosin on C3002 melts immediately, which means the short-circuited phenomenon is caused by damaged C3002.
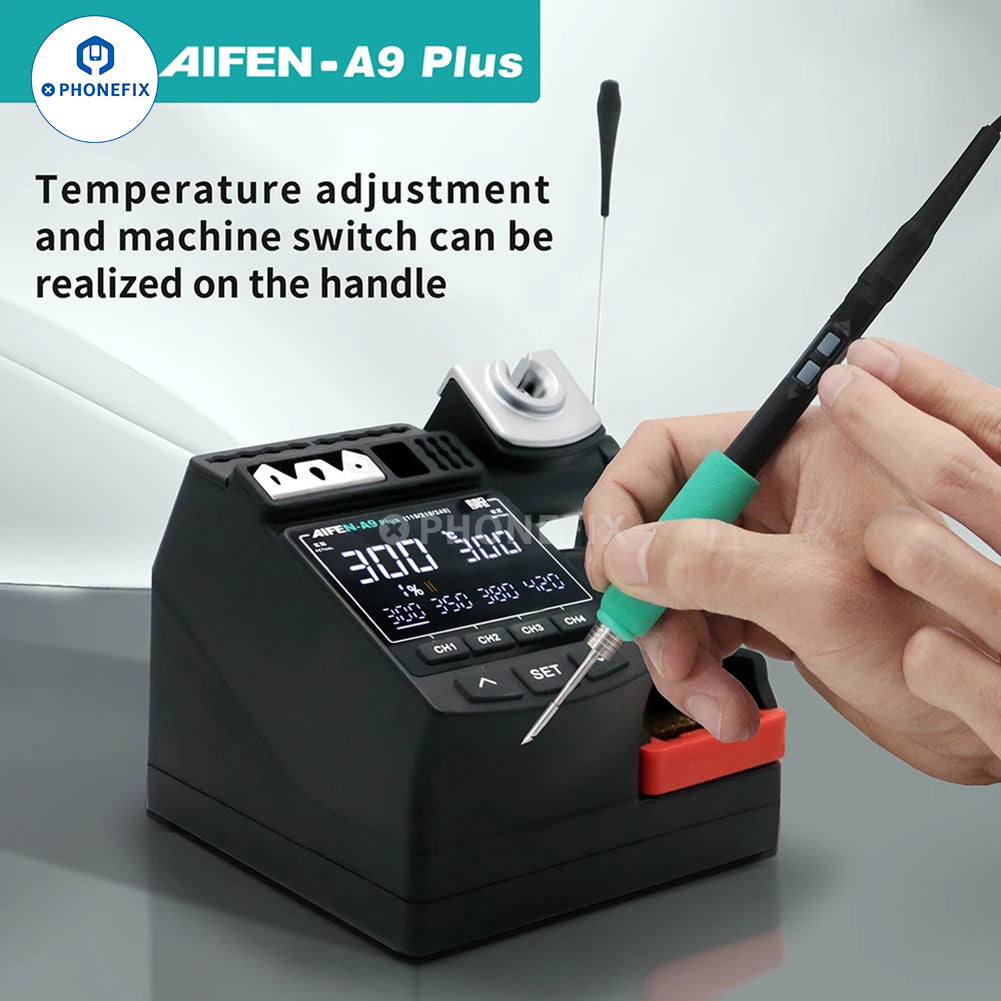
As we know, the C3002 is a filter capacitor, so we can directly remove it. Heating the C3002 with QUICK 861DW hot air rework station, and remove C3002 with tweezers.
Cool down the iPhone motherboard, after about 5 minuses, clean up the iPhone motherboard with PCB cleaner.
Next use digital multimer to measure the diode data of the C2303, now the data measured is normal. Connect iPhone motherboard to the DPS DC Power Supply to test the iPhone boot current, the boot current also is normal.

I hope our above-mentioned method is helpful to you. If you have other more effective iPhone repair methods, please leave a comment in the comments.


