In the complex world of mobile phone repair, iPhone Screen Disassembly is like a vanguard assault in a key battle, playing an irreplaceable and important role. It is the first lock to open the complex internal structure of the phone. Every precise prying action, every fine control of temperature and strength, is related to whether the subsequent repair process can proceed smoothly. This article focuses on the steps and the combination of repair tools.
1. Preparation-Gather Tools:
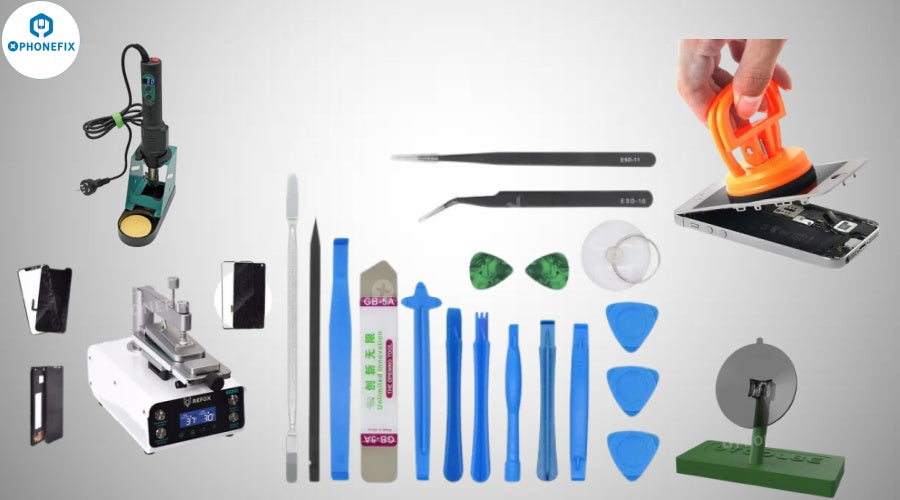
Screwdriver Set: Different phones have different screw types and sizes. You'll need a precision screwdriver set with various bits (usually Phillips and Torx) to remove any screws that are holding the phone case together.
Plastic Pry Tools: These are essential for prying open the phone without scratching or damaging the casing. You can use plastic spudgers or guitar picks. A suction cup is also useful, especially for phones with glass backs or screens.
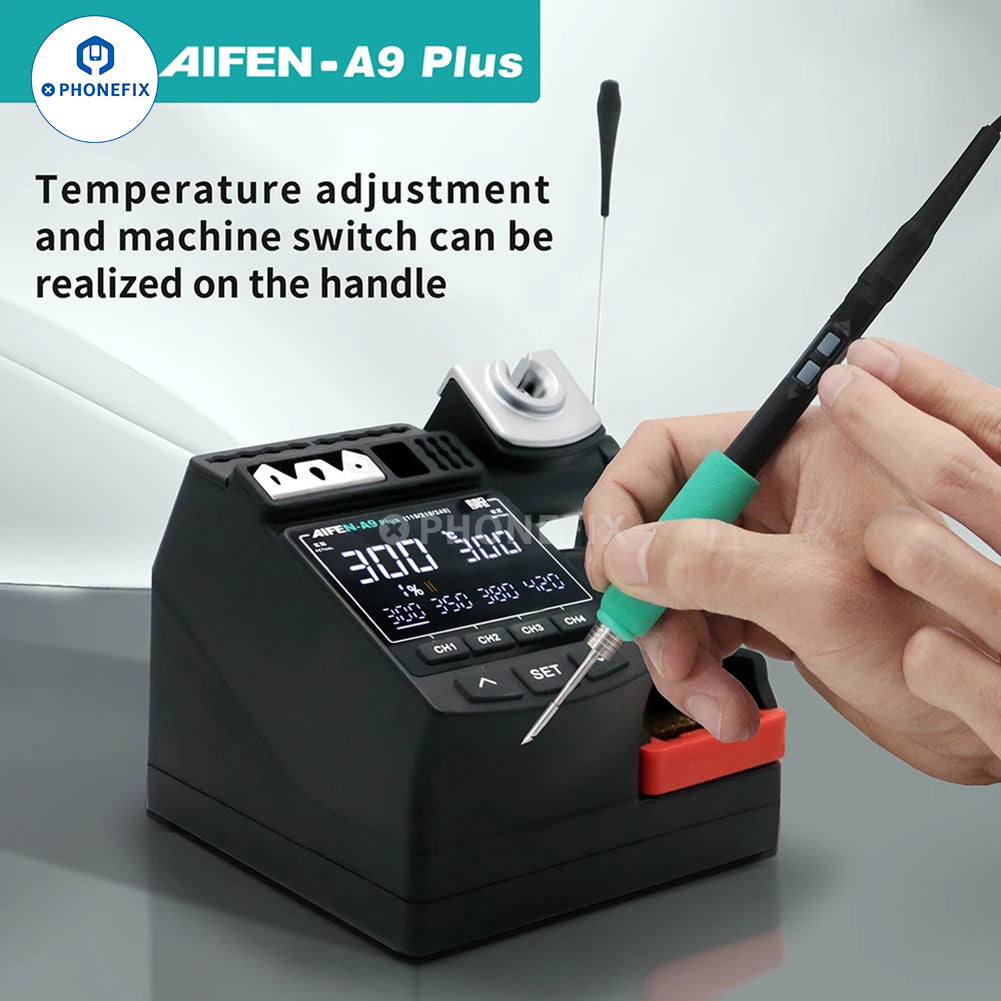
Heat Source: For phones with glued - on screens, a Hot Air Gun or a high-wattage hair dryer is necessary to soften the adhesive.
Create a clean and organized workspace: Use a well-lit area, preferably with a magnifying lamp if you need to work on small components. Place a soft, non-scratch mat on your work surface to prevent damage to the phone. Have small containers or a magnetic mat to keep screws and other small parts organized.
Back up data and power off the Phone: Before you begin any disassembly, make sure to back up all the data on the phone. Then, power off the phone completely and remove the SIM card and any external memory cards.
2. Determine the Phone's Design and Disassembly Method:
Research the model: Different phone manufacturers and models have different ways of attaching the screen. Some phones have screws around the perimeter of the screen, while others use a combination of clips and adhesives. Look up the specific disassembly guide for the phone you're working on. You can find official repair manuals online, on the manufacturer's website, or through third-party repair forums.
Check for hidden screws or clips: Some phones have screws hidden under stickers or rubber grommets. Make sure to check for these before prying the screen open.
3.For Phones with Screws
Remove the screws: Use the appropriate screwdriver bit to carefully remove all the screws around the screen. Place the screws in a labeled container to keep track of them. Some phones have different - sized screws in different locations, so it's important to keep them organized.
Locate the seam: Look for the seam between the screen and the body of the phone. Insert a plastic pry tool into this seam at one corner.
Pry open the screen: Gently apply pressure to the pry tool to lift the screen slightly. Work your way around the edges of the screen, using the pry tool to release the clips that hold the screen in place. Be careful not to apply too much force, as this can break the clips or damage the screen.
4. For Phones with Glued Screens:
Apply heat: Hold the heat gun or hair dryer about 5-10 cm away from the edges of the screen. Move it in a circular motion around the screen for 1-2 minutes to evenly heat the adhesive. The ideal temperature for most adhesives is around 60-80°C. Test the adhesive's pliability by gently pressing a plastic pry tool against the edge of the screen. If it gives a little, it's ready to be pried.
Use a suction cup: Place a suction cup firmly in the center of the screen. Pull up gently on the suction cup to create a small gap between the screen and the body.
Separate the screen: Insert a plastic pry tool into the gap created by the suction cup. Slowly work the tool around the edges of the screen, using a combination of prying and sliding motions to separate the screen from the body. As you work, you may need to reapply heat to keep the adhesive soft.
5. Disconnect the Screen Cables
Locate the cables: Once the screen is partially separated, you'll see the cables that connect the screen to the motherboard. These are usually located at the bottom or top of the phone.
Release the cables: Use a plastic pry tool to carefully lift the connector latch. Gently pull out the cable. Some cables may have a small locking mechanism that needs to be released before you can pull out the cable. Be extremely careful not to damage the cables or the connectors, as they are delicate.
6. Safety Precautions and Tips
Anti-static precautions: Static electricity can damage the phone's internal components. Use an anti - static wrist strap that is connected to a grounded source. If you don't have a wrist strap, frequently touch a grounded metal object to discharge any static electricity on your body.
Keep the phone and components clean: Avoid getting fingerprints or debris on the internal components. If you need to handle components, use clean, lint - free gloves or tweezers.
Work in a controlled environment: Avoid working in a humid or dusty environment. High humidity can cause corrosion, and dust can interfere with the proper functioning of the components.
This is a piece of cake for people with outstanding manual skills, but if you don't trust your manual skills, you can try the latest REFOX RF40 and REFOX RF20 Screen Heating Seperator. A must-have tool for lazy people, it is more expensive but very reliable. You don't need to perform tedious operations, you can easily remove the screen with a phone in hand.
Mastering the skills of efficient removal of mobile phone screens and related repair techniques will not only make you more handy on the road of mobile phone repair, but also open the door to the field of professional repair for you. If you are eager to obtain high-quality mobile phone repair tools and accessories to further improve your repair skills and efficiency.
Phonefix will be your best choice. We provide a wide range of professional and reliable mobile phone repair products, from precision screwdriver sets to high-quality plastic pry bars, from screen glue suitable for various mobile phones to professional static elimination equipment. At Phonefix, you can find all the repair tools you need to make your mobile phone repair career more powerful and easily cope with various complex repair challenges.
How To Efficiently Remove the Phone Screen During Phone Repair?


