One art form that repair people really appreciate is soldering, but not everyone knows the correct technique. It's an easy skill to add to your resume, so Phonefix will take us through learning how to solder.
What Is Soldering?
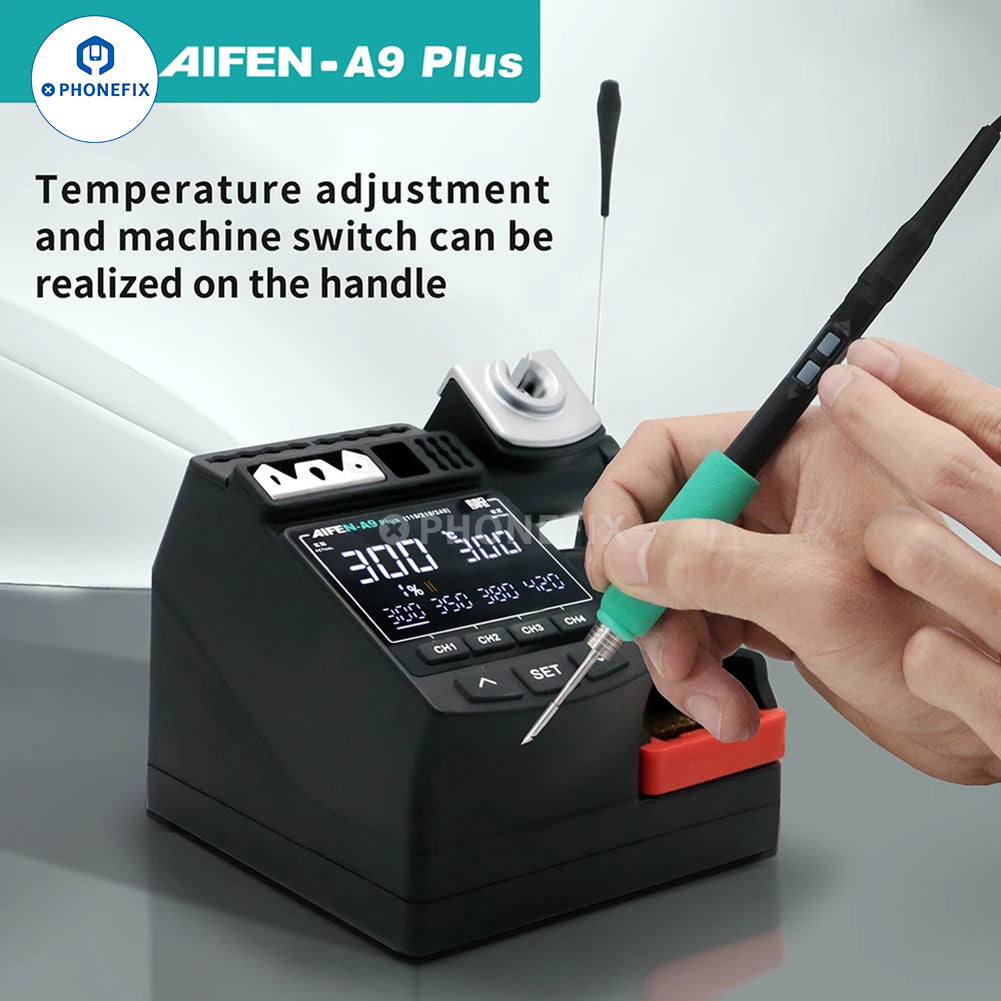
A soldering iron is a tool with a metal tip that gets really hot. We’re talking like 800 degree Fahrenheit, though you can adjust the temperature on a good iron. Its job is to transfer heat to things like wires, transistor leads, and pads on PCBs. After the appropriate areas are heated properly, solder is applied.
If you plan on soldering, it's better to spend $30-40 on a 20-30 watt iron than a cheap $15 one. You'll get a tool that lasts longer, can be used for a wider range of applications, and you'll have proper heat control. There are also soldering guns available, but you should only use these when repairing thick cables, not on PCBs, as the tip of the gun has live voltage that can damage sensitive electronics. Solder is a thin tube, usually rolled into a spool, made from various metal alloys. Its job is to hold individual components together. The individual components and their amounts can vary, but for computer electronics, 60% tin and 40% lead is generally required. Lead-free solder is also available, but it has a higher melting temperature and is less wettable, which means you may need a better soldering iron to use it, and it can be more messy to remove. Lead-free solder is better for the environment, among other benefits, and they function much the same way.
The tube is filled with "flux", a substance that removes oxides and helps clean the surfaces involved in the welding process. For electronic use, you need rosin core/rosin flux solder. Acid flux is used for plumbing work, acid flux can damage sensitive components on PCBs. First, Safety First!
Many people who have never used a soldering iron before worry about damaging their equipment, but more importantly the danger to themselves! A soldering iron can get very hot (think about it, solder itself is molten metal). Always wear safety glasses, don't let loose clothing and hair block your vision, and be careful with your fingers. It's best to wear protective gloves. Solder may contain lead, so always wash your hands thoroughly after handling it. It's also very important to work in a well-ventilated area, as breathing in the fumes from rosin can damage your lungs. Honestly, this is more about common sense and preparation than anything else. As long as you take the proper precautions, you should be fine. Next, Clean And Tin The Tip:
In order to conduct heat properly, the Soldering Tip must not have any old solder on it. Solder oxidizes when exposed to air, which insulates the heat. We want the heat to conduct so that we can apply everything quickly and efficiently. A dirty tip means you have to hold the tip for a long time and risk heat damage to the PCB, which no one wants. Prepare a damp sponge and once the tip is fully heated, gently scrape across the sponge to remove the old solder. The tip should be nice and shiny, or at least very close to shiny. And we want to "tin" the tip. This will protect the tip and allow the heat to conduct better with the presence of new solder. On the hot iron, carefully apply a small amount of new solder and apply to the tip. If done correctly, the tip should still be shiny. Once the tip is tinned, you should immediately start soldering components together. Clean and re-tin after every few soldering sessions, and clean the iron again before putting it away in storage. This really helps extend the life of the tool. This way, a good soldering iron should easily last for several years.
Then, Connect The Parts:
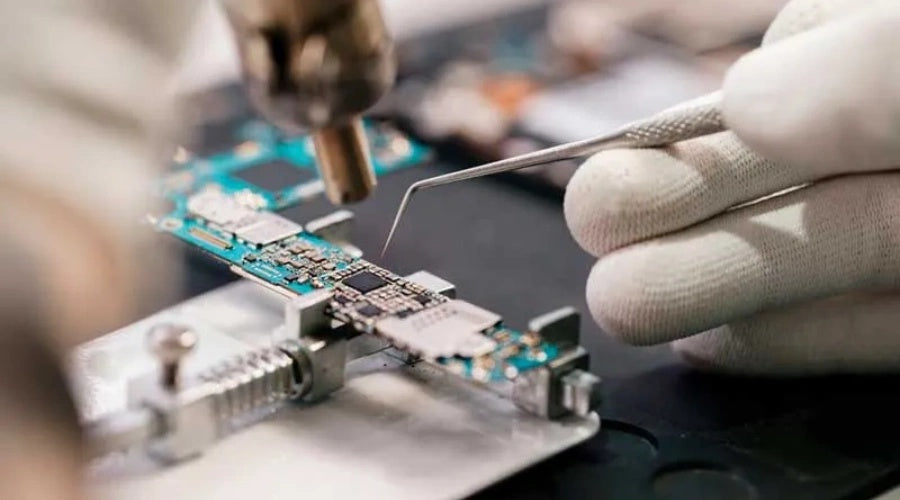
Hold the soldering iron in your dominant hand and a long blob of solder in your other hand. When soldering two parts together, you'll want to touch the soldering iron to the area where they'll connect. Hold it there for about a second, then slide the solder under the tip of the soldering iron, clamping it to the PCB (see the picture above, with the cursor pointing to the solder). Hold it there for another second or two, adding the amount of solder you need. This amount will vary based on the project, application, and diameter of the solder, so check your instructions and study the pictures to see what the end result will be. Now, this is really important. Pull the solder away first, then continue to hold the soldering iron for a second. This allows the solder to continue to melt and pool, forming a good joint. Then, you can pull the soldering iron away. The whole process should take no longer than 5 seconds, and you should usually aim for 3-4 seconds.
Wait a few seconds, and don't disturb the solder. It will cool quickly, but moving or blowing on it will cause the solder joint to deteriorate. A bad solder connection will look oxidized, overly dull, and rough. It will also look a bit like a solder ball forming in that area. A good joint should be smooth and even, with concave sides. It will not look like a raised ball, but rather flat.
The Most Important Point, Desoldering:
When removing a connection or correcting a mistake, you can usually re-solder over the original connection and add a small amount of new solder. If you want to take the extra step and do it properly, you can completely remove the old solder and start with a new work area. There are two tools that can be used for this purpose, a vacuum-based "desolderer" or desoldering wire.
A desolderer is essentially a small Handheld Syringe Pump. It creates and uses vacuum pressure to suck the solder off of it. It is a great tool and works very well. Desoldering wire is a braided copper that the old solder has bonded to. It is more expensive and is a consumable item, so I don't usually recommend it. However, there are some jobs that will greatly benefit from the clean finishing touches that desoldering wire provides. Both tools have their own advantages, and it is very likely that you will need to use one of them from time to time in your soldering career. Having a clean work area is very important because it will provide the best results and minimize the risk of damage.
Soldering is not particularly difficult, you just need to focus, keep a steady hand, and be safe. A good soldering iron will be a good investment that will allow you to have a wider variety of geek projects. Now that you know how to do it, practice more and you will be able to show your skills!
The above is phonefix's summary of how beginners can use soldering irons. If you have any questions during use, please consult phonefix. If you need Soldering Tools, you can also come to Phonefix to buy them.
How to Use A Soldering Iron for Beginners?


