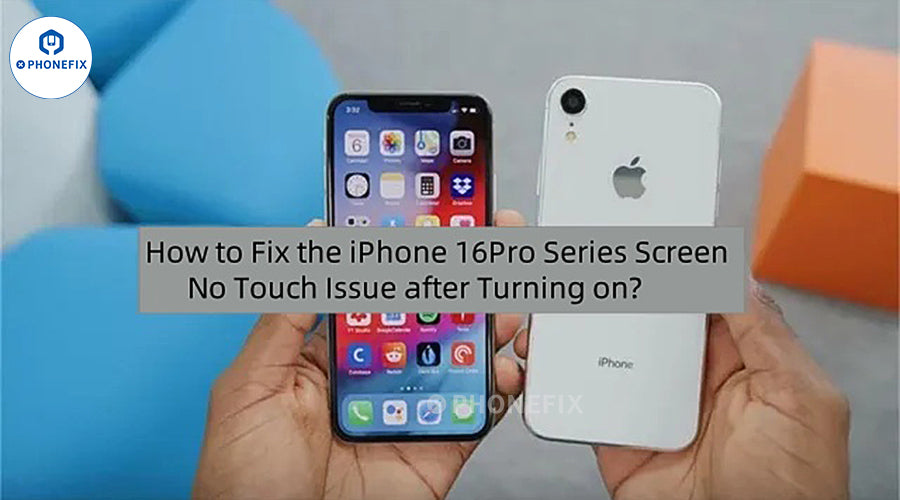
In the field of repair, various thorny problems emerge one after another. Here, we received a special repair case shared by a friend about the iPhone 16 Pro series-the iPhone Screen becomes unresponsive when powered on. Is it a hardware failure or a problem caused by software conflict? Next, let us follow the footsteps of a professional repair master and see how he unravels the problem step by step and handles this thorny problem.
The customer sent a newest iPhone 16 Pro mobile phone. It is understood that the customer had watched some tutorial videos before and tried to assemble the screen by himself. However, during the operation, the customer overlooked a crucial point - turning off the power. This negligence directly caused the screen touch function to completely fail. Seeing this situation, the repair master shook his head helplessly, and then quickly devoted himself to the repair work, ready to overcome this problem caused by improper operation.
Before officially starting the repair work, the master needs to carefully complete a series of disassembly operations. He first carefully uses professional tools to pry along the gap of the iPhone 16 Pro body and gradually separate the front and iPhone Back Shells of the phone. This step requires full concentration, and the slightest carelessness may scratch the shell or damage the internal components.

After successfully separating the front and back shells, you can see the intricate structure inside the phone. The master then focuses his attention on the iPhone Motherboard. He skillfully unscrews the screws that fix the motherboard. These screws are small in size and require extremely high precision in operation.
After unscrewing the screws, the master carefully removes the iPhone 16 Pro motherboard from the phone frame with the help of fine tools such as Tweezers. At this point, the motherboard disassembly work is successfully completed, and then the motherboard can be deeply inspected and repaired to solve the problem of screen touch failure.

The master held a Multimeter and methodically tested the various lines on the iPhone 16 Pro motherboard. When he detected the IO AOPTO TOUCH BSYNC1 line, which is closely related to the screen touch function, he keenly noticed something wrong. This IO AOPTO TOUCH BSYNC1 line plays a key role in the screen touch function. Once the screen fails to touch, it becomes the focus of the repairman's inspection. Faults such as open circuits, short circuits, and cold solder joints that may occur in the line are like "reefs" hidden deep in the circuit, which are likely to hinder the normal transmission of touch signals, thereby causing the screen touch function to malfunction. Now, the repairman has locked on here, and is one step closer to finding out the root cause of the screen touch failure.

How to repair this problematic IO AOPTO TOUCH BSYNC1 line? This problem instantly made the experienced repairman fall into deep thought. He knew very well that a slight mistake in the repair might cause more damage to the motherboard. After repeated thinking and trying a variety of conventional detection methods, he still had no clue. In desperation, the repairman decided to find another normal iPhone 16 motherboard, hoping to find inspiration and solutions to the current problem from its circuit structure and line connection method. He hopes to find the key to the fault by comparing the differences between the two, so as to overcome this difficult repair problem.
The repairman did not back down because of the problem. With his rich experience and patience, he conducted a meticulous observation of the normal iPhone 16 motherboard. His hard work paid off, and he finally made a major discovery: there is an IO AOPTO TOUCH BSYNC1 signal on the photosensitive cable holder. This signal is consistent with the signal on the faulty motherboard, and it is very likely to be used to repair the damaged screen touch function. With this key clue, the repairman's eyes ignited with hope, and he quickly adjusted his state and started to work on a repair plan without stopping, ready to overcome this difficult problem.
The repairman first took out a High-precision Soldering Iron with adjustable temperature, along with a pair of fine-tipped tweezers that were essential for handling the tiny components. He then used a stereo microscope to accurately locate the position of IO AOPTO TOUCH BSYNC1 on the photosensitive board. After careful consideration, he decided to use the method of flying wire to repair the fault.

He selected an extremely thin and flexible wire, and with his steady hands, he picked up the wire using the tweezers. Then, he applied a small amount of High-quality Solder Paste with a fine applicator tip. Using the soldering iron, he carefully soldered one end of the wire to the corresponding solder point of IO AOPTO TOUCH BSYNC1 on the photosensitive board. To ensure a stable connection, he also used a desoldering wick to remove any excess solder.
After that, with the help of the Stereo Microscope and tweezers again, he accurately connected the other end of the wire to the designated solder point on the motherboard that can restore the screen touch function to normal. This process requires extremely high skills, and any slight deviation may lead to failure. Throughout the process, he also used a multimeter to frequently check the continuity and resistance of the connection to make sure everything was working as expected.

Note: During the repair process, special attention should be paid to the circuit on the display socket, and different situations have different response strategies: if the circuit is short-circuited or the voltage is pulled down, the original circuit needs to be cut off and the flying wire needs to be used to restore normal; and when the circuit is directly open, there is no need to cut off the original circuit, and the flying wire can directly restore the circuit to smooth, which can minimize the damage to the device motherboard.

After a concentrated operation, the flying wire connection was successfully completed. When the motherboard was reinstalled into the iPhone 16 Pro Max and powered on for testing, the screen touch function that had originally failed was miraculously restored. When the finger gently touched the screen, all operations responded smoothly and the instructions were executed accurately, successfully allowing the functions between the screen and the motherboard to be smoothly realized, perfectly solving the previous touch failure problem.

At this moment, let us give a warm applause to this repairman! It is precisely because of his superb skills that this iPhone 16 Pro with a screen touch failure has been successfully "resurrected" and regained its due glory. Here, we would also like to sincerely thank Chinafix for sharing this valuable case, which provides a valuable reference for the majority of repair enthusiasts and professionals.
If you are also facing similar precision repair needs and are eager to have professional and reliable repair tools, then please be sure to pay attention to Phonefix. Phonefix is committed to providing everyone with a full range of High-quality iPhone Repair Tools to ensure that every user can use professional tools to safely and efficiently repair the iPhone, so that your beloved machine is always in the best condition and continues to bring you a convenient user experience.