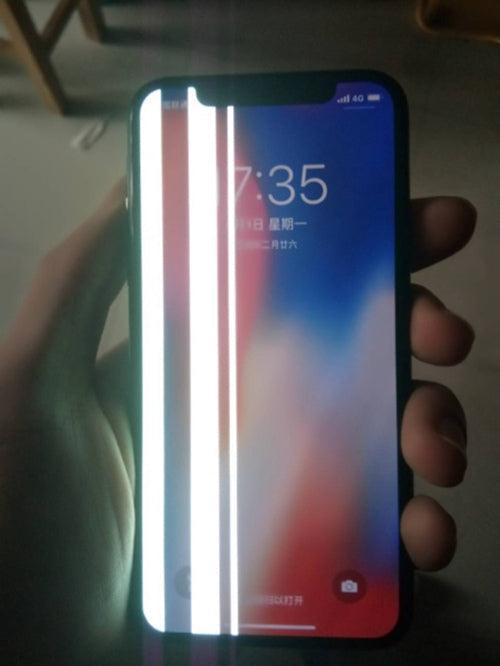
First, use Qianli 3D screwdrivers to remove the iPhone screws at the bottom of the screen, and then put iPhone X on the CPB screen separator for heating. After a while, use LCD pry tool to open the iPhone X screen, remove the iPhone display assembly.

Disassemble the iPhone X again, remove the iPhone X display assembly, disconnect the iPhone battery, and then remove the iPhone X motherboard.
First measure the diode data for iPhone display connector by digital multimeter, the diode data measured is normal.
Connect the iPhone motherboard to QIANLI iPower Pro Max DC power supply test cable, and then trigger the iPhone, the boot current measured is normal.

Based on our repair experience, this problem may be caused by PP_GPU_SRAM circuit or iPhone CPU.
Signed in to ZXW online account to check iPhone X schematic diagram and bitmap, and then we need to measure those related components one by one.
Put iPhone X motherboard on the SST12A heating station to separate the iPhone X motherboard, and then use digital multimeter to measure the iPhone logic board, the data measured is normal.
According to the iPhone X schematic diagram, now we are going to check L2780. Attach the iPhone X motherboard to the PCB holder fixture, and then use hot air gun and tweezers to remove L2780. Clean the solder pad, and then install the new L2780 to the motherboard.
Now use Qianli iSocket test jig to measure the iPhone X, the iPhone X screen displays normally and it can be turned on properly.

Hope we can help you solve this issue. If you have other tips to fix it, don’t forget to share your opinion, and let us know in the comment.


