Plug an iPhone charge cable to the iPhone 7 Plus to test the iPhone charging current, the charge current jumps around 200mA, and won't stop.
Use 2UUL 3D Screwdriver to remove the screws next to the iPhone lightning port, and then use LCD opening tools to open the iPhone screen. Remove the iPhone display assembly, disconnect the iPhone battery, and then take out the iPhone motherboard.
 Measure the iPhone motherboard with a DC power supply, the standby current is 0, which means no leaks. Trigger the iPhone 7P, the current up to 1.9A, which is large current.
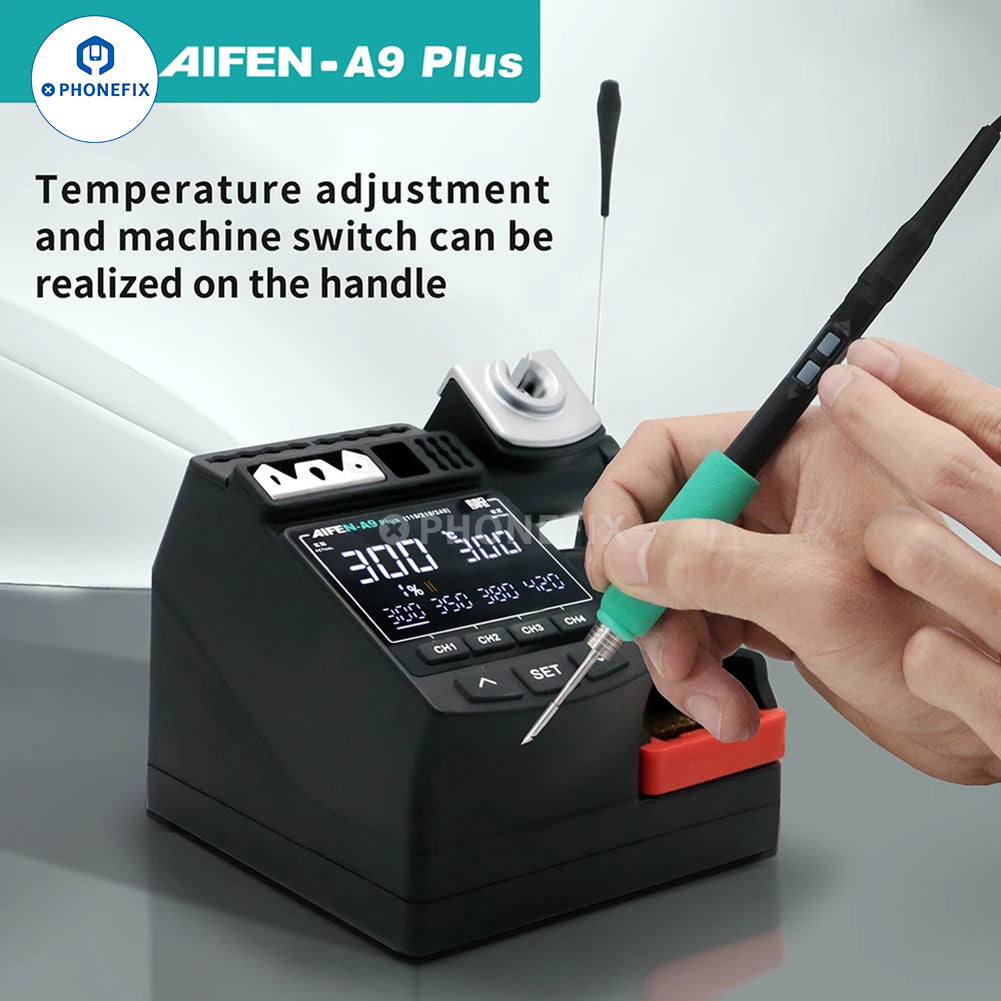
Apply some rosin to the soldering iron, and then use soldering iron to smoke the rosin to the logic board. Supply power to the motherboard, after a while, we can see that the rosin on the area around the iPhone main power IC melted firstly, is the iPhone main power IC damaged?
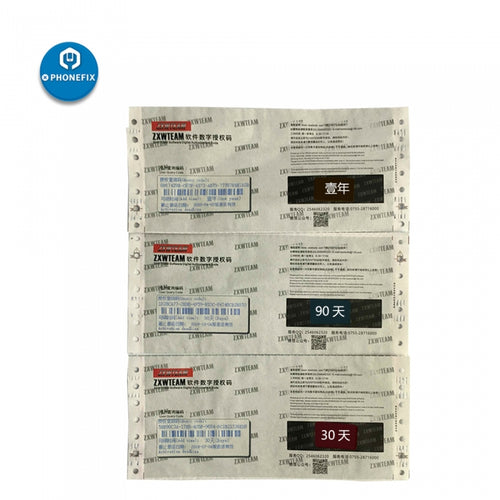
Login to the zxw dongle to check iPhone 7P schematic diagram, we found that the iPhone Nand flash power supply also in the heating area. Use digital multimeter to measure the iPhone Nand flash, it's short-circuited.


Assemble the iPhone 7 Plus, press the iPhone power button, now the iPhone 7 Plus can be turned on successfully.
We hope these tips can help you. If your iPhone still doesn’t turn on and it’s a black screen, there may be something wrong with the iPhone hardware. You can go to the Apple Store to fix it. Anyway, good luck.


