For iPhone 6 and later versions, touch ID is bonded with CPU, and the user who has replaced his home button will lose touch ID fingerprint function resulted by damaged home button touch ID flex. Today we will show you the way to fix an iPhone 6 Home Touch Sensor Assembly, let's dive in.
Power on and test. "Unable to activate Touch ID on this iPhone". Press Home Button, the returning function is normal.
1. Remove the Display Assembly
Remove the two bottom screws. Soften up the adhesive underneath with a heat gun. Hold onto your iPhone securely and close the handle of the suction cup to slightly separate the screen from the rear case of the phone.
Slide the opening pick around the top corner of the display. Open the iPhone by swinging the display up from the left side.
Remove five securing the logic board connector bracket with tweezers, and remove the bracket. Pry the battery connector up from its socket on the logic board. Disconnect the front panel sensor assembly connector.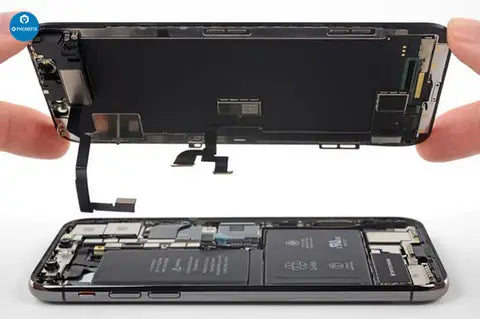
Disconnect the OLED panel cable connector. Pry the digitizer cable connector up from its socket. Remove the display assembly.
2. Locate the Fault
Check the logic board connector J2118 for moldy condition, dry Joint, and measure the resistance between J2118 and grounding with MECHANIC Multimeter. Everything is fine and the value is also normal.
Take down the Home Touch Sensor Assembly and we found broken traces on the home button flex cable.
So we can make a preliminary judgment: Touch ID malfunction is caused by fractured flex cable circuit. The way to fix the problem is replacing the fractured section with a new of the flex cable.
3. Replace the fractured section with a new Home Touch Sensor Assembly
Use tweezers and soldering iron pry up the back plate and cut the fractured part from the flex cable with Sculpture Knife under the trinocular microscope. Scrape out the flex cable circuit.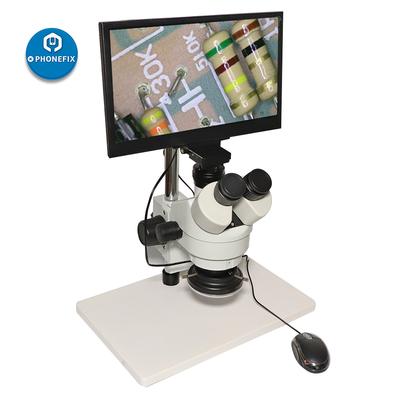
Apply some BGA paste flux to the flex cable and then solder tins with Soldering Iron. Clean with PCB Cleaner after cooling.
Pry up the back plate of the new Home Touch Sensor Assembly. Cut a length of flex cable from the new iPhone 6 Home Touch Sensor Assembly.
Fix the newly cut cable with double-sided adhesive. Scrape out the newly cut flex cable circuit.
Apply some BGA paste flux to the newly cut flex cable and solder tins with Soldering Iron. Clean with PCB Cleaner after cooling.
Cut out the excess parts of the newly cut flex cable. Apply Glue to the bonding part, and adhere the two cables carefully and align position.
Fix cables, apply some BGA paste flux and solder flex cables. Use PCB Cleaner to clean it after cooling. Get the Home Touch Sensor Assembly mounted on the screen.
Then buckle the display assembly to the logic board. Power on and run Touch ID function test. Touch ID back to normal.
4. Test
Take down the display assembly, take out the Home Touch Sensor Assembly and adhere another length of the cable to the previous bonding part.
Solder for further secure flex cables, and secure the back plate with Glue carefully. Get the Home Touch Sensor Assembly mounted on the screen. Buckle the display assembly to the logic board.
After that, power on and test. The phone works with normal and Touch ID function.


