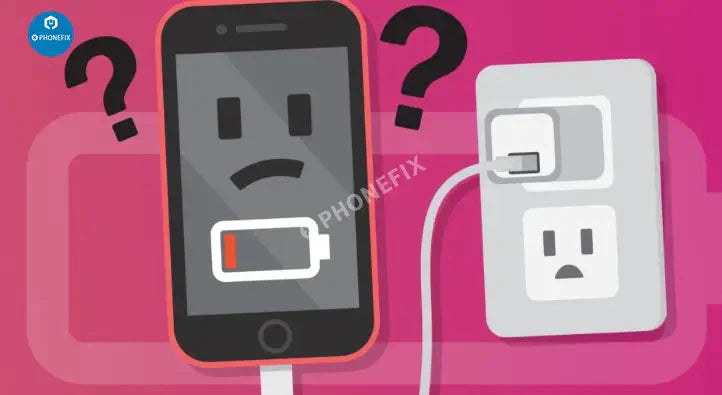
If your iPhone SE simply won't charge, you can try to restart the device, leave it plugged in, or try new accessories and ensure that they are making good contact with the charging port. Sometimes, you may need to go as far as doing a factory reset.
if your iPhone SE won't charge, these tips will apply to both two iPhone SE models. Let's get into it.
1. Leave the iPhone Plugged in for an Hour
If you know that your iPhone's battery has gone completely flat, all you need to do is use a working wall adapter and Lightning cable and leave the phone in for up to an hour.

This will give it enough time to steadily trickle juice into the battery until it can begin to charge normally. This will be indicated by the battery icon that pops up on the screen.
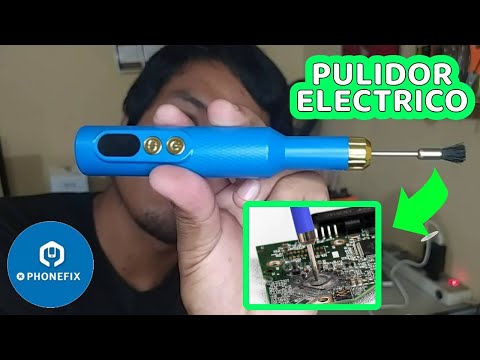
2. Brush The Gunk Out Of Your iPhone’s Charging Port
If you find lint, gunk, or other debris in the charging port of your iPhone, it’s time to brush it out. You need something that won’t conduct an electric charge or damage the electronics in the bottom of your iPhone. Grab a anti-static brush and gently brush out your iPhone’s charging port.

3. Restart the iPhone
Restarting the iPhone SE differs slightly between the two generations.
For the first-generation: Press and hold the top button, found on the top of this model, until the slider shows up. Pull it as instructed and wait for the iPhone to switch off. Once it is off, press and hold the top button until the Apple logo appears.
For the second-generation: You need to press and hold the iPhone SE home button, on the side, similar to newer iPhones. Pull back on the slider that shows up and wait for the iPhone to switch off.
As soon as the Apple logo shows, you have successfully restarted the device.
3. Try a Different iPhone Adapter
In some cases, particularly where the electric supply isn't stable, the charger itself can have a component that has burn out.

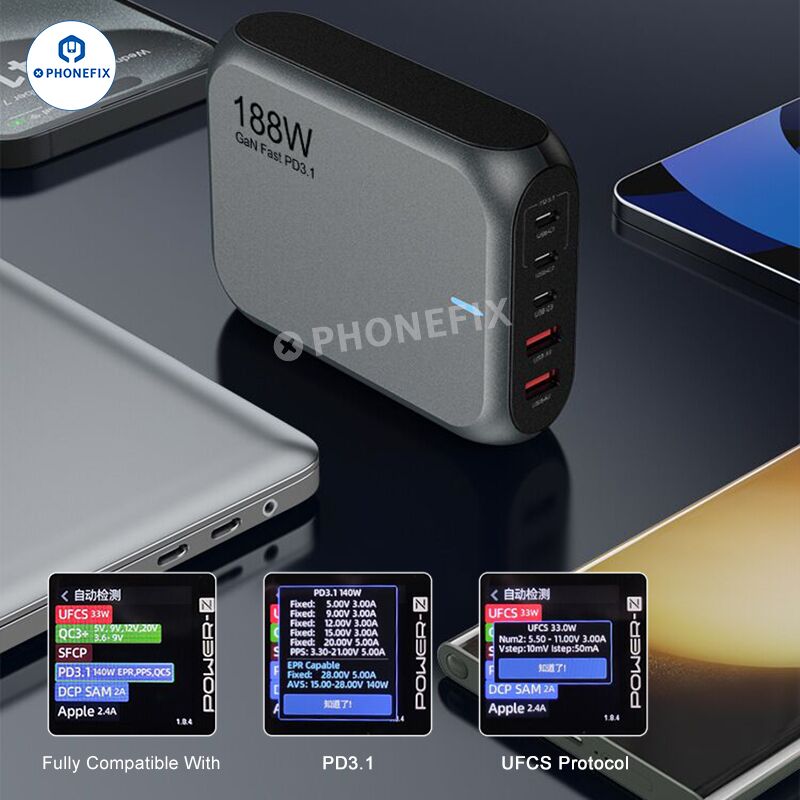
You can use a different wall fast charging iPhone adapter to rule out this cause. Alternatively, you can plug into the USB ports on your computer if you don't have a spare charger lying around.
4. Try a Different Lightning Cable
The cables that come with your phone tend to be well-made and can last for a year or two, but they usually give out at some point.

Try another cable to be sure that your iPhone charging cable isn't the cause for your device not charging.
5. Try Your Accessories on a Different iPhone
Another option that will help verify the health of your charging accessories is to attempt to charge a friend's Apple iPhone using your equipment. If it charges without an issue, the problem certainly isn't due to the accessories.
6. Clean Out the Charging Port
Check the Lightning port on your iPhone SE and make sure that it doesn't have any dust or debris accumulated inside. If it does, use a toothpick or toothbrush to clean out any dirt inside.
Do not use compressed air for this, as it can damage the microphones and speakers near the charging port.
7. Try a Wireless Charger
If you have the second-generation model, you may have an additional way to troubleshoot the device, and that's to place it on a iPhone wireless charger.

Besides that, there are many Android devices that support a feature known as reverse wireless charging. This will allow you to use it as a wireless charging pad.
8. Update iOS
If there is an issue following the release of a new iOS version, Apple will likely push out a minor iOS update as fast as they can. You can check to see if there are any new updates available.
How to: Go to Settings - General - Software Update - Install Now or Download and Install
Tap on that to proceed with updating your version of iOS.
9. Perform a DFU Restore
This is a process that will completely wipe all data on your phone and restore it as if it was fresh from the factory. You can consider this to be a better way to restore iPhone than a regular factory reset.
First, you'll need to put the device into DFU mode.
To put the first-generation iPhone SE into DFU mode:
Connect it with a USB cable to your computer, open iTunes or Finder, and hold both the Home and power buttons. Count to 8 and release the top button, but don't release the Home button.
Then you should be prompted on the computer that a device was detected in recovery mode. You can now release the home button. The screen is meant to remain black at this point.
You can also use JC C2 DFU Box to enter DFU mode quickly.
Put the second-generation iPhone SE into DFU mode:
Connect it via USB to your computer. Open iTunes or Finder. Tap the volume up button and the volume down button immediately after
Hold down the side button until the display goes black
As soon as it does this, while still holding it down, hold down the volume down button as well. Count to 5, and then release only the side button.
Hold down the volume down button until your computer detects an iPhone in recovery mode. The screen will also remain black.
On the computer, you should now be able to perform a restore by clicking on "Restore iPhone". That's it!
If none of these solutions work, you may need to get your iPhone SE logic board or battery replaced.


