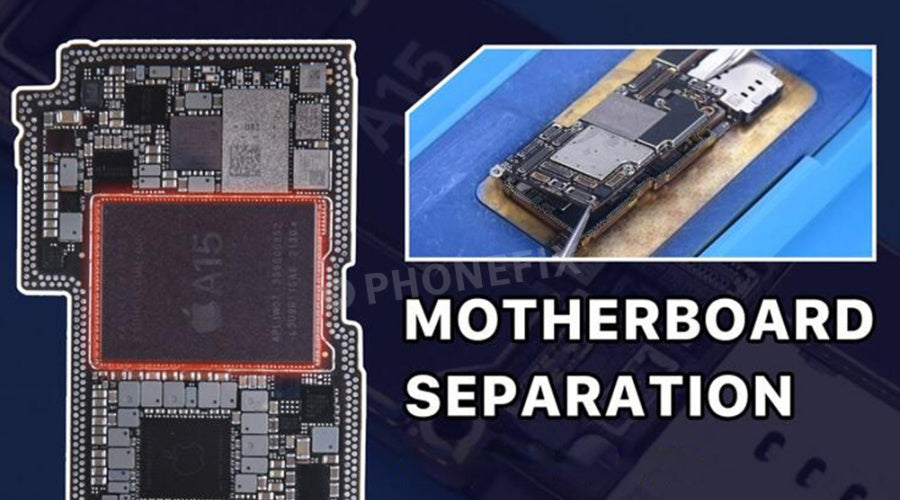
Before starting, we need to prepare the repair tools:
- Motherboard Desoldering and Soldering Station
- Midframe Ball Planting Platform
- Motherboard Functional Test Fixture
- Tweezers
- Engraving Knife
- Hot Air Gun
- Soldering Iron
- Solder Paste
Main Steps:
1. Place the motherboard on a Heating Platform with the temperature set to around 150°C to melt the solder between the layers.2. After the solder is melted, use the engraving knife to gently lift the upper layer with tweezers
3. Cleaning: Use a soldering iron and wick to clean the pads on both layers to remove residual solder. This step is essential to ensure a good connection when reassembling.
4. Test functionality: After cleaning, use a test fixture to check the functionality of each layer to ensure they can start properly before reassembly.
5. Reball: Use a reballing platform to apply new solder balls to the pads on the signal board, ensuring that excess solder does not flow into unwanted areas.
6. Reassembly: Carefully align the two layers and apply heat (about 130°C) to melt the solder balls and bond the layers together. Make sure there are no gaps or misalignments during this process.
Important Notes:
1. Temperature control: Maintaining the proper temperature is critical; overheating can deform components or cause poor soldering.2. Use of flux: Applying flux before soldering helps improve Solder Paste flow and ensure better connections between pads.
Let's watch the video of iPhone motherboard separation below
iPhone 14 Motherboard Separation:
How to Separate, Reball and Restore iPhone X Logicboard | Motherboard Repair Lesson:
The above are the repair tips for iPhone motherboard separation and assembly. During the repair process, we need to prepare the necessary tools in advance. At the same time, the main tools for separating the motherboard can also be obtained from Phonefix stores. If you want to get more repair tips and essential tools, you can consult China Phonefix.


