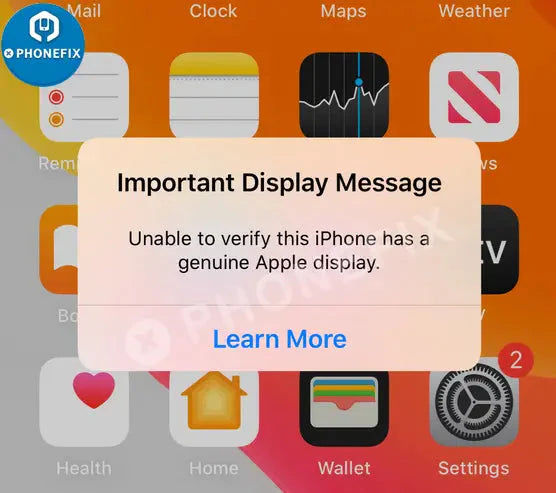
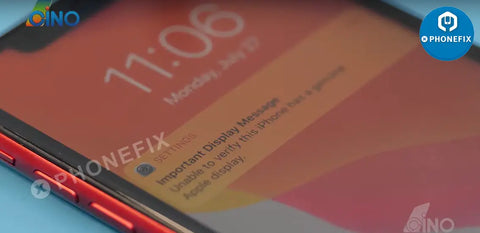
"Unable to verify this iPhone has a genuine Apple display" will also show up in the General > About section of the Settings app if a repair shop uses an unverified display component. In this way, Apple intends to force the users replace their screens on Apple Store Only.

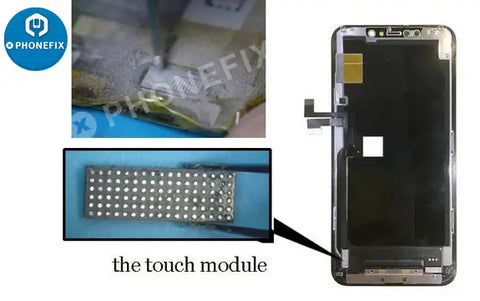
There is a touch module on the display which contains the iPhone 11 Series system data. When we connect to a new replaced display and power on the phone, the touch module data and the iPhone system cannot match. That’s why the warning pop-up on the screen. Take the iPhone 11 for example. We need to replace the touch module to the original iPhone 11 Display Assembly . Let’s take steps on it:

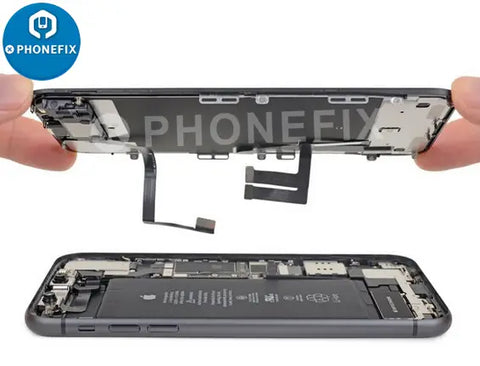
Step 1: Remove the iPhone 11 Display Screen
1. Hold onto your iPhone securely and close the handle of the Suction Cup to slightly separate the screen from the rear case of the phone after heating. Insert your pick into the top-right corner of the phone to separate adhesive.

2. Unscrew the iPhone 11 Battery connector cover and remove the battery connector cover. Use a spudger or to pry the battery connector up from its socket on the logic board.

3. Remove the logic board cover bracket. Use a spudger to disconnect the LCD panel cable connector and the digitizer connector.
4. Disconnect the iPhone 11 Front Sensor Assembly. Remove the display assembly. Unscrew the front assembly.

5. Flip the iPhone 11 Ear Speaker assembly over. Heat up the top edge of the display. Pry up the microphone. Remove the ambient light sensor bracket. Loosen the ambient light sensor.
6. Remove the speaker and front sensors. Lift the shield plate and separate the display flex cable.
Step 2: Prepare Touch Module
1. Put the new iPhone display on the table. Use JC EM02 CNC Grinding Machine to grind the touch module and clear the module after it is completed.
2. Clean out the black adhesive from the module with solder flux and solder wick and heat up with SUGON 2020D Hot Air Gun.
3. Tear down the touch module from the original display, use hot air gun to blow and steel tool to pry carefully.
Step 3: Weld the Original Touch Module
1. Clear out the black adhesive on the module, use solder past to reball the touch module by smearing the solder on the stencil and heating with hot air gun blowing.

2. Applying some Soldering Flux on the module and heating with hot air gun; Connect the display into the iPhone after the touch module is cold down.

3. Test the new display function, the pop-up non-genuine warning disappear, all the display functions are normal. The whole procedure completed successfully.