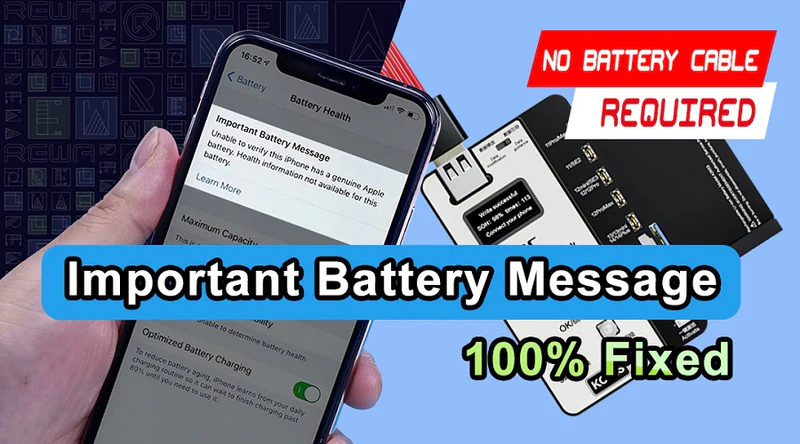
Efficiently repairing iPhone batteries, especially for ios18, requires specialized tools. The KC02S Battery Repair Device simplifies battery health modifications, ensuring precise updates and reliable performance.
2. Features of the KC02S
Broad Compatibility: Supports iPhone models 11 through 15PM, accommodating even the latest devices.
Battery Health Modification: Enables adjustments to battery efficiency percentages, such as restoring health to 98% or 100%.
Data Accuracy: Maintains cycle count and ensures precise data updates.
Efficient Flashing Tools: Compatible with third-party flashing software like Shalou Assistant, i2C Assistant, and iTunes.
User-Friendly Design: Compact, easy to operate, and equipped with power boot cables for secure connections.
3. Step-by-Step User Guide
Step 1: Preparation
1. Remove the original battery from the iPhone.
2. Place the battery onto the KC02S Battey Repair, aligning it with the corresponding model slot.
3. Switch the KC02S to “Data Modification Mode.”
Step 2: Modifying Battery Data
1. Set the device to “Single Modification” mode.
2. Long press the adjustment button to select the desired battery health percentage (e.g., 96%).
3. Confirm the changes while leaving the cycle count unaltered.
Step 3: Connecting to the Phone
1. Use the provided power boot cable and choose the correct cable for your iPhone model (e.g., 12 Mini).
2. Attach one end of the cable to the iPhone and the other to the KC02S USB port.
3. Connect the phone to a computer using a standard USB cable.
Step 4: Verifying Data Changes
Check the updated battery health on the computer to ensure it reflects the modification (e.g., 96%).
Step 5: Flashing the Device
1. Open flashing software (e.g., Shalou Assistant).
2. Select the iOS version (e.g., 18.11) and enable the “Battery Keypad Repair” option.
3. Begin the flashing process.
Step 6: Troubleshooting Flash Errors
If the flashing process fails, follow these steps:
1. Press Volume Up → Volume Down → Long press the Power button for 10 seconds.
2. Restart the flashing process.
Step 7: Finalizing the Process
Once the flashing process is complete, verify that the battery health matches the updated value. Activate the device, confirming that the changes have been successfully applied.
4. Troubleshooting and Common Issues
Flashing Errors: Ensure the device is properly connected and the correct flashing tool settings are applied. Restart the phone manually if needed.
Data Not Updating: Double-check the KC02S switch position and modification mode settings.
Connection Issues: Verify that all cables are securely connected and compatible with the phone model.
Mastering the i2C KC02S Battery Repair Tester: A Step-by-Step Guide
Diyfixtool Ci
Popular posts
-
 How to Slove with Charging Paused Battery Temperature too Low?Battery TemperatureSep 16, 2024
 -
 How to Resolve iPhone Non-Genuine Battery Pop-up with i2C KC02S?Battery Pop-upMar 06, 2024
 -

-
 7 Ways To Fix Charging Stopped Phone Temperature Is Too LowCharging IssueMay 20, 2022
 -
 Cell Phone Repair Technician's Workstation Setup Ideas & ToolsPhone Repair BusinessDec 23, 2023
PHONEFIX HOT SALE


PHONEFIX
PHONEFIX Polish Grinding Pen PCB Board BGA Chip Removing Repair
Sale priceFrom $0.99 USD
Regular price$2.59 USD
In stock

PHONEFIX
AIFEN A9 Plus Digital Display Soldering Station With T210/245/115 Handle
Sale priceFrom $75.55 USD
Regular price$86.99 USD
In stock

PHONEFIX
188W GaN Charger Phones Laptops PD3.1 Fast Charging Station
Sale price$35.99 USD
Regular price$38.99 USD
In stock


