When the iPhone X stuck on apple logo, check the iPhone X motherboard, and everything goes well. After connect the phone with computer and restore via iTunes, Error 4014 appears.
Let’s start with measurement of the power supply of iPhone X NAND flash chip. Connect battery connector with the DC Power Supply and get the motherboard powered on with tweezers. Run voltage measurement of the power supply of NAND. The measured value is normal.
Step 1. Replace with a new NAND flash chip
1. Place the iPhone X motherboard on the specialized Heating Platform. Remove the sponge covering the board first.
2. Pick up the upper layer with tweezers carefully. With solder balls on the third space PCB remaining the same, we can skip the reballing process when soldering the two layers back together. 
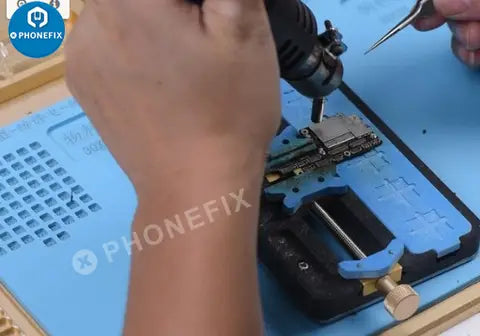
3. Attach the upper layer to the PCB Holder. Heat with SUGON 2020D Hot Air Gun to tear off the sticker. Continue heating to remove black adhesive around NAND,and pry up the NAND flash chip carefully.
4. Place the NAND flash chip on the staging area. Click "Backup Kernal Data" to backup data of the chip of the JC P11 Nand programmer. These backup data will be saved in the computer.
5. Place a new NAND flash chip on the staging area. Click "Write Kernal Data ". Choose the data file saved in the computer. The software will write the backup data to the new chip.
6. Once finished, click "Query Info ". Basic info of the new chip will be displayed on the interface. Once done, take out the new NAND Flash chip. Get the BGA Reballing Stencil in position.
7. Smear medium-temp solder paste evenly on the stencil. Heat with Hot Air Gun So that all solder balls can shape up completely. Once completed wait for 1 minute.
8. Then separate the NAND flash chip from the stencil with Tweezers. Heat and move on to NAND soldering.
9. Clean the bonding pad afterwards. Then clean thoroughly with Solder Wick and clean with PCB Cleaner afterwards. Remove residual black adhesive on the bonding pad and apply paste flux to the bonding pad.
10. Get the new NAND flash chip in the right position. Remove heat insulation adhesive on the lower layer, solder the two layers together on the Desoldering Platform.
11. Then apply some Solder Paste Flux to the third space PCB. Get the upper layer in position. Heat for 1 minute and then power off the heating platform. Wait for the motherboard to cool for 5 minutes.
Step 2. Assemble the Phone and Test
1. Connect the phone with the computer. Restore the phone via iTunes. The phone can be normally restored. Once completed, the phone turns on normally. We can see SN and IMEI number here.
iTunes Error 4014--Solution for iPhone X Stuck On Apple Logo


