How to Use Multimeter in Mobile Phone Repairing
A multimeter is used for testing and to check readings of various parts and components in a mobile phone. How do you use an multimeter in mobile repairing? This post aims to present to you all the information you need about this topic.
There are two types of multimeters available in the market: digital multimeter and analog multimeter.
Most technicians prefer to use the digital models. The analog models are used by old generation technicians, as they love and have a distinct affinity to them!
Related Article:
Analog or Digital Multimeter - Buyer’s Guide
You can use any type of the ones mentioned above in mobile phone repairing as both of them will do the same thing.
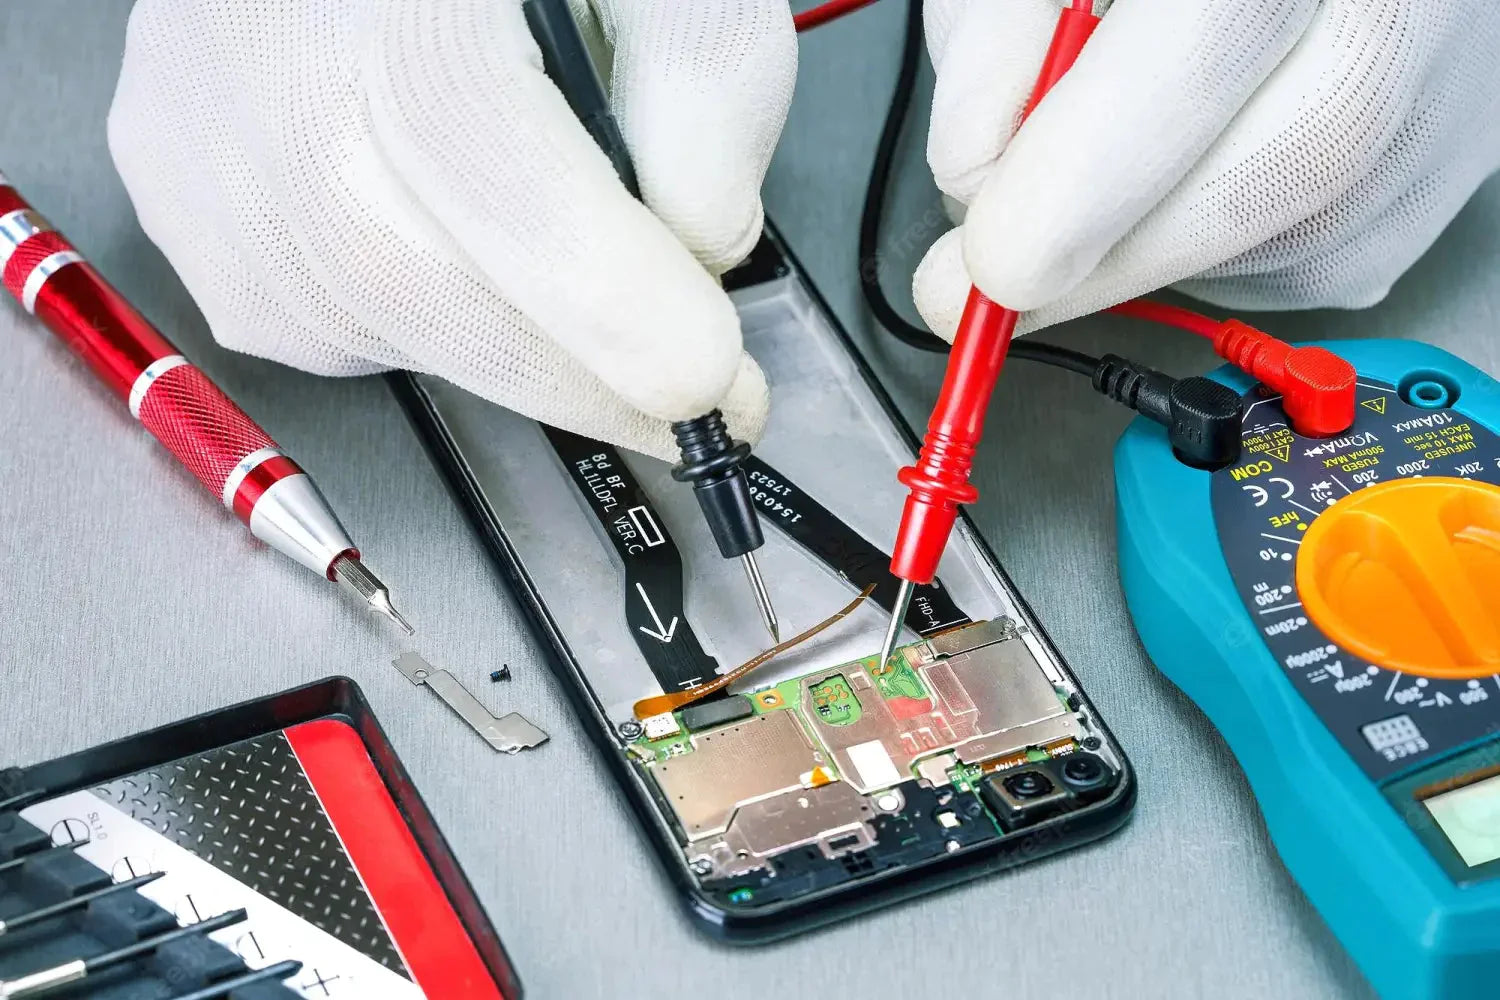
A multimeter whether digital or analog has two wires (also called probes), a red and a black wire. The red probe is positive (+), while the black probe is negative(-). In electronics, always red is positive and black is negative.
An analog multimeter is an electronic device that is used to measure a wide array of electrical quantities. Its uses include:
measuring resistance
measuring current
measuring voltage
continuity test
diode testing
transistor testing
How Do You Use an Multimeter in Mobile Repair?
First, you need to be familiar with basic steps if you want to use an multimeter, take DT-17N multimeter as an example. 1. Connect the test leads to the multimeter
2. Use the setups below for measuring various quantities.
Use an AC socket to measure current and AV voltage
Use an AA battery to calculate current and DC voltage
Use a wire to measure the continuity
Use a resistor to measure resistance
3. Connect the test probes to the element to be measured for every setup. Then, check the reading on your device. In the DC volt setting, the output voltage of different charging connectors, chargers, battery connectors, and batteries could be checked.
4. Connect the probes to either end of your battery. Your pointer must move across the scale depending on the range you’ve picked. If your battery is fully charged, the point must point between eight and ten on the scale.
But if not, you can choose the DC voltage range in your analog multimeter, which is higher than 10V.
Learn more tools from the article: All Must-Have Tools For Common Cell Phone Repairs DIY
You can try the same process for other setups to calculate the corresponding quantities.
In mobile phone repairs, we use only any one of the below given settings in multimeter: 1. Resistance Setting: By this meter, the resistance of various parts like resistors, etc can be checked.
We can also check resistance between 2 points if it is instructed to check in a service manual to check it to get a particular reading while repairing a fault in the motherboard.
We can also check the microphone of cell phone with this setting.
2. DC Volt Setting: We use this setting to check the voltages of the things to be checked.
It is indicated by a capital V and straight line with 3 dots below it.
In DC volt setting the output voltage of various things like battery, battery connector, charger, charging connector, etc. can be checked.
3. Continuity: This is also called diode setting.
When you touch the red and the black probe ends while on this setting, you will be able to hear a beep sound. By keeping the multimeter on this setting, we can check the continuity between the given 2 points.
We can check whether the tracks are open or not. If the multimeter shows continuity, it will give a beep sound. That will mean that the track is ok. And if it does not beep, it will mean that the track is broken. To repair a broken track, all technicians make jumpers. Jumpering means soldering a thin insulated wire from one end of a broken track to the other end.
With this setting, we also check whether the circuit board is short or not. We check the shorting by keeping the wires on the positive and negative terminals of the battery connector and also reverse the wires.
If we get beep sound both ways then the circuit board is short, if we get beep sound only once then it is not short.
In some phone models you will not hear the beep sound. Instead you will either see some reading (like 255, 282, etc) on the screen of the multimeter or just 1.
So if you see reading 2 times i.e even after reversing the probes, then the circuit board is short. You should get reading one time and just 1 on the other time.
Warning
Before using the Multimeter, inspect Test Leads, Connectors and Probes for cracks, breaks or crazes in the insulation.
Before attempting to open the case of the Multimeter, be sure to disconnect test leads or probes from any energized electronic circuit to avoid electrical shock.
We hope you find this article on multimeters in mobile repairing informative and helpful. More latest multimeter Click Phonefix Shop.
What are your thoughts about this post? Share your insights with us by leaving your comments below!
Tags: Multimeter