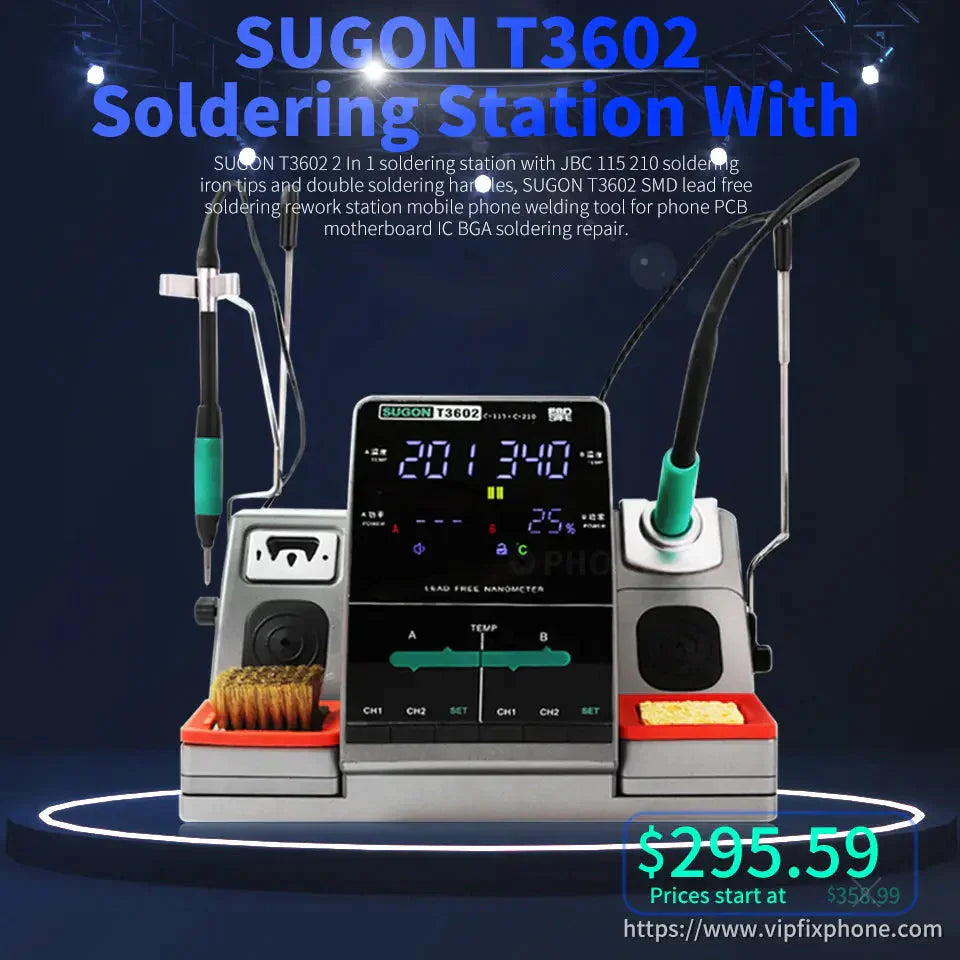
Lead-free SUGON T3602 Soldering Station with C210 C115 soldering handle and JBC iron tips, it's a professional micro-soldering tool in the field of BGA logic board repair. Today, China Phonefix Team will introduce it in detail from four aspects: installation,temperature calibration, use method, Maintenance and safety attention.

Apparently, SUGON T3602 soldering station features independent control of A/B zone and it has two independent soldering iron handles plug settings, so there is no influence or interference. LCD digital display is designed for easy observation. Two soldering iron tips can be used separately at the same time for different maintenance operations, which is convenient.
1. Installation
- Connect the handle device to the host handle socket
- Install the heat core
- Place the soldering station and place the handle on the handle frame.
- Connect the power Supply and turn on the machine, if the display shows: "---" , then the soldering station is in standby mode.
Attention: When connecting and disconecting the soldering handle. Remember to turn off the power. Avoid damage to the motherboard.
2. Temperature Calibration
Whenever the heating element is replaced, temperature must be recalibrated. This machine adopts digital temperature calibration method, we can calibrate it with the key.
- When the machine is on, long press the A/B "SET" key to enter the temperature calibration setting status interface.
- Press "up/down" button to adjust and correct the temperature. After setting,press the "SET" key again to save, and then exit.
- Enter the working state.
Note:
- A soldering iron corresponds to A "SET" key; B soldering iron corresponds to B "SET" key.
- SUGON S-191 is just a Temperature detector for monitoring the temperature of the iron tips.
3. Temperature setting and storage
- Heat up
Press the Up button once, the temperature window will show the set temperature to up 1℃. Hold up button tor at least one second, the set temperature will heat up rapidly until up to the set temperature you did set.
- Cool down
Cool down method is similar to Heat up.
- Store and find data
After parameter data is set, hold CH1 button to up or down temperature and save it. Similarly, keep hold CH2 or CH3 button to set the storage temperature and save them.
Do bring out the memory temperature. Press the Ch1 button (less than 1 second) and bring up the saved data. Press CH2 or CH3 to bring up the memory data as well.
4. How to use it?
- Remove the soldering iron tip from plug box
- Place the soldering iron handle on the socket and pull out the JBC soldering iron tip. Make sure the soldering iron tip plug in properly
- Tum on the power, press the "SET" button to convert Fahrenheit and Celsius. The unit displays Celsius "℃" Fahrenheit "F"
- Set Unmute Beeps, when the machine is off, press and hold the "CH1" button, and then tum on the machine to tum of or enable the buzzer sounds. When enabled, an icon will be displayed and a beep will sound.
- Key lock setting, press and hold area A when the machine is off "CH1" key,then turn on the Power on,you can turn off or enable Key lock.
Attention: Its input voltage is AC110V 50/60Hz, AC220V 50/60Hz. Its maximum power is 120W. Temperature range needs keep 100℃-450℃; 212°F-842°F
Note:
1. Too high a temperature will weaken the tip. choose the lowest possible temperature.
2. Please clean the tip with a clean sponge regularly.
3. Do not allow the soldering iron or tips to idle at high temperatures for extended amounts of time.
4. Heating core and soldering iron tip are in one, when temperature cools down, replace a new one instead of the old.