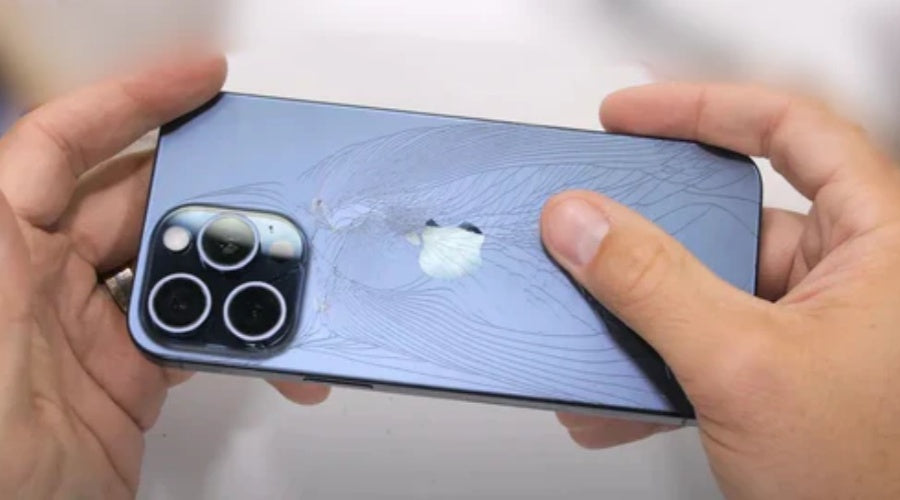
In response to the iPhone 15 Pro back cover glass replacement problem mentioned by most netizens, Phonefix launched this tutorial for the first time.
iPhone 15 Pro Max Back Glass parts replacement includes:
1. Professional replacement of refurbished iPhone 15 Pro Max back glass parts.
2. Magsafe magnet with ring bracket.
3. Rear camera glass cover.
4. Back glass with steel plate base.
iPhone 15 Pro Max back glass parts replacement provides you with the following guarantees:
1. Excellent performance.
2. Timely repair and turnover.
3. Real-time updates to your personal customer service.
4. Free consultation and recommendation.
5. The warranty period is the same as Apple.
6. Local and online customers repair on the same day.
The above are some of the benefits of replacement, and below we will introduce how to replace?
Preparation stage:
1. Let the phone battery power be less than 25%, because charged lithium-ion batteries have potential safety hazards. Unplug all cables from the phone. Press and hold the power and either volume button and slide to turn off the phone.
2. Seal any cracks with tape, making sure there is a large enough smooth area near the bottom edge for the suction cup to stick to. Mark your opening pick.
Removal Phase:
1. Remove the iPhone pentalobe screws holding the screen in place, secure the anti-pinch, and create a gap under the rear glass, insert the opening pick and heat the bottom edge until it feels hot to the touch. Insert the opening pick. Place the suction cup at the bottom edge of the rear glass. Pull the handle upward with strong, steady force to create a gap between the rear glass and the frame. Insert the tip of the pick into the gap.
2. Back glass information, in the following steps, be careful with the wireless charging cable near the volume button as you cut through the adhesive holding the rear glass. Separate the bottom edge adhesive, use a hair dryer or AiXun H310D Hot Air Gun to heat the bottom edge of the back glass until it's hot to the touch. Heat the left edge, separate the left edge adhesive, heat the top edge until it feels hot to the touch.

Remove the back glass, If you think manual disassembly is too troublesome, you can choose Laser Machine Disassembly. Which is used to burn the adhesive that binds the back glass to the housing, facilitating its removal. Reapply adhesive and install the back glass.


