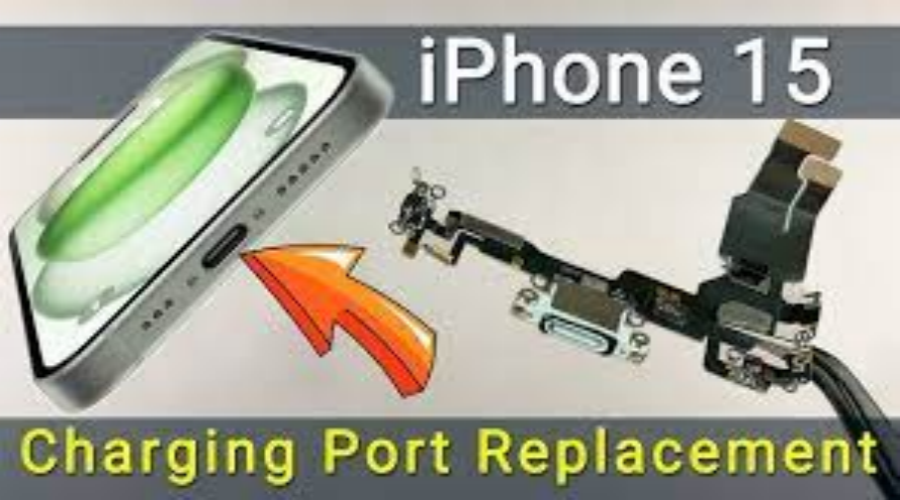
The introduction of the USB-C port in the iPhone 15 marks a significant shift for Apple, aligning with the industry standard and offering enhanced charging speeds and data transfer capabilities. However, like any hardware component, the USB-C port is susceptible to wear and tear or accidental damage. For professionals in the field of electronics repair, understanding the intricacies of repairing an iPhone 15’s USB-C port is crucial. Sometimes it is necessary to replace the iPhone USB charginng chip. This guide provides a comprehensive overview of the tools required, step-by-step procedures, and essential precautions to take during the repair process.
Step-by-Step Repair Procedure:
- Power Down and Discharge:
Ensure the iPhone 15 is powered off completely. For added safety, discharge any residual power by holding the power button after turning it off.

- Remove the Screen:
Start by removing the Pentalobe screws at the bottom of the phone.
Use a hot air gun or heating pad to soften the adhesive around the screen edges.

Place the suction cup on the lower part of the screen and gently lift to create a small gap.

- Insert a plastic pick into the gap and carefully work your way around the perimeter of the screen to release the adhesive.
- Lift the screen slowly, being cautious of the delicate display cables attached to the motherboard.
- Disconnect the Battery:
- Once the screen is lifted, use the Phillips screwdriver to remove the screws securing the metal plate that covers the battery connector.
- Disconnect the battery to prevent any short circuits during the repair.
- Remove the USB-C Port Assembly:
- Locate the screws holding the USB-C port assembly in place and remove them.
- Carefully disconnect any attached cables or connectors.
- Use a soldering iron to de-solder the USB-C port from the motherboard. Be sure to work with precision to avoid damaging nearby components.

- Install the New USB-C Port:
- Align the new USB-C port in the correct position.
- Solder the new port to the motherboard, ensuring all connections are secure and that there are no cold solder joints.
- Reconnect any cables or connectors that were removed earlier.
- Reassemble the iPhone:
- Reattach the battery connector and secure it with the metal plate.
- Carefully place the screen back onto the frame, reconnecting all display cables.
- Press down around the edges to ensure the screen is securely adhered.
- Replace the Pentalobe screws at the bottom of the phone.
Final Checks and Testing:
After reassembling the device, power it on to check if the new USB-C port is functioning correctly. Test the charging capabilities, data transfer, and ensure that the port is properly aligned and secure.
Key Considerations:
- Static Precautions: Always wear an anti-static wrist strap to prevent electrostatic discharge (ESD) that can damage internal components.
- Precision Soldering: Use a microscope during the soldering process to ensure accuracy and prevent unintentional damage to adjacent components.
- Avoid Overheating: When using a heat gun, maintain a safe distance to avoid overheating the screen or other sensitive parts.
Here is the iPhone 15 charging port replacement Guide, please watch the video.
Repairing the USB-C port on an iPhone 15 requires a combination of technical skill, precise tools, and careful handling of delicate components. By following this professional guide, technicians can restore full functionality to the device, ensuring it continues to deliver the high performance expected from Apple’s latest iPhone model. As always, if you're not confident in performing this repair yourself, it's advisable to seek assistance from a certified technician and get professional repair tools from CHINAPHONEFIX.