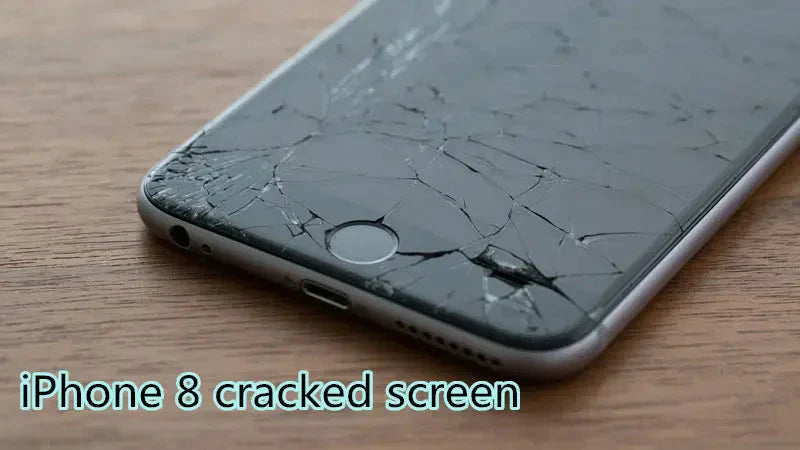
Pick up your iPhone, because the screen was shattered, it may hurt your fingers, so when test the display, touch and 3D touch functionality is working or not, you should be more careful.
In the case of touch and 3D touch function work, we can do the next job
1. Disassemble the iPhone, carefully detach the flex cable and unload the display assembly for removing the bezel. Use WL HT007 Pre-Heating Soldering Station to heating screen, and then remove the bezel.

2. Put display assembly on the phone screen vacuum separator, heat it about 30 seconds. Press the power button of phone screen separator, and then separate the glass lens from LCD with phone screen cutting Steel Wire.
3. Carefully remove the POL film with glue removing machine. Use shovel glue knife to remove the residual POL film and then remove the glue residue with LCM Cleaner. After the adhesive is removed, wipe the LCD with some rubbing alcohol. Make sure there are no smudges or finger prints on it.
4. Put LCD on the LCD Vacuum Separator. Do remember to clean completely with N-hexane at first. Align the POL Film with LCD correspondingly. Then press ‘Pump Down’ button to help stick the POL film to the top panel. Tear off the first layer of Pol protective film, and then keep going to finish POL laminating. Now, tear off the first layer of OCA protective film and paste the OCA to the top panel. Next, tear off the second layer of Pol Protective film, and then complete OCA lamination.

Align the integrated iPhone 8 glass lens with the front cover of the flat panel. Invert the alignment of the mold and remove the LCD panel assembly. Cover the back of the LCD panel with a coated sponge. Put the LCD display assembly into the glass laminating machine.
6. Take out the iPhone LCD Display assembly and remove the bubble. Test the new LCD display assembly with iPhone LCD Tester.

Finally, assemble the iPhone, and test the touch function on it, 3D touch and touch functions are normal.
If your iPhone screen has encountered this problem, please refer to this article to repair your iPhone. I hope the repair methods in this article are helpful to you.


