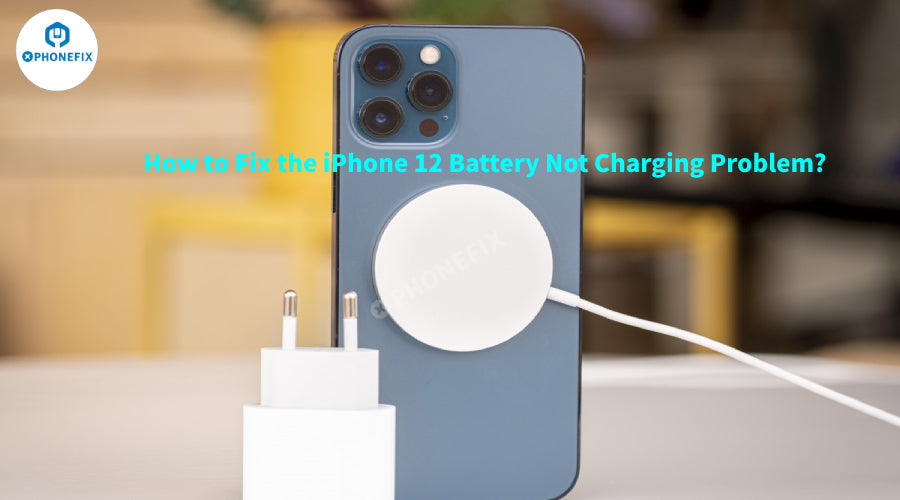
Have you ever been in a rush, relying on your iPhone to stay powered, only to plug it in and be greeted by that dreaded "no charging" sign? It's a frustrating scenario that many iPhone 12 users, including the owner of an iPhone 12 Pro Max we're about to discuss, have unfortunately faced. This particular user arrived, visibly exasperated, as their phone persistently refused to charge despite trying various chargers and outlets. So, what could possibly be the issue? Let's follow our proficient repair technician and discover the solution as we rectify this troublesome device.
After receiving the phone, the repairman quickly started the repair process. The first step was to disassemble the phone. This job seems simple, but it is actually very laborious. He took out a Precision Screwdriver and carefully unscrewed the screws that fixed the iPhone Back Cover. These screws are very small and may slip off if you are not careful. Once this happens, the difficulty of subsequent repairs will be greatly increased. After unscrewing the screws, he picked up a crowbar, gently pressed against the headphone jack of the phone, and gently pried it open. In this process, the force is very important. If it is too light, it will not open, and if it is too heavy, it will damage the phone case. After some operation, the back cover was successfully opened, and the various complex parts inside the phone were displayed in front of him.

Then, his eyes focused on the iPhone Motherboard. The motherboard can be called the "heart" of the iPhone, and it is densely covered with various key components. The repairman first observed with the naked eye, carefully checking whether there are components on the motherboard that are burned, whether the solder joints are loose, and whether there are short circuits visible to the naked eye in the circuit. In the past repair process, there have been cases where components burned and the phone could not be charged. By observing with the naked eye, the problem can usually be quickly located.
After completing the appearance inspection, the next step is to use professional equipment. The repairman picked up the Multimeter, a powerful assistant for detecting the circuit condition of the motherboard. He manipulated the multimeter's probe to accurately touch each test point on the motherboard, and determined whether the circuit was short-circuited or open-circuited by measuring resistance, voltage and current.

If the value of a test point deviates too much from the normal standard, it means that there may be a problem here. In addition to the multimeter, he also enabled Professional Oscilloscope. This equipment is powerful and can simulate the actual working environment of the mobile phone, and conduct comprehensive tests on precision components such as integrated circuits (ICs) on the motherboard to ensure accurate troubleshooting. In this way, he followed the process and tested every component on the motherboard one by one, not daring to miss any "small hidden dangers" that may cause failures.
After completing the motherboard inspection of the motherboard, the repairman clearly found that there were no short circuits or open circuits on the motherboard. Each solder joint was reset as before, and there was no sign of overheating or damage on the motherboard. All kinds of electronic components were in normal condition. At this point, the suspicion of the motherboard was completely repaired, and the repairman immediately focused his eyes on the battery to find the root cause of the problem.

The repairman first concentrated on the appearance of the iPhone Battery and carefully examined every surface of the battery. Confirmed that the battery is swollen. Then, he quickly and skillfully connected the professional Battery Testing Equipment. On the screen of the equipment, from the battery voltage and current output data, to the actual value of the current battery capacity, to the dynamic changes of the charge and discharge curve, all kinds of key information were clearly presented and recorded in detail.

After a rigorous analysis, the final test results showed that the battery could no longer stably output the power required to ensure the normal operation of the mobile phone, and it was difficult to supply an adaptive power supply, which was undoubtedly the reason why the mobile phone could not charge.
After determining that the battery was the problem, the repairman relied on his rich experience accumulated over the years to instantly select the best solution in his mind - replacing a high-capacity battery for the customer. He knew that the excellent performance of the battery was for the external power supply of the mobile phone, so he chose this high-quality battery with a milliampere number of up to 4400mAh, and then replaced the 3687mAh battery on the original side. The new battery has a qualitative leap in terms of socket.

After determining the source of the problem, the repairman began to remove the battery. The battery fits tightly in the phone and is firmly fixed by glue around it. He used a small and Sharp Blade to carefully remove the glue along the battery frame bit by bit. Every action was extremely cautious, for fear of causing any damage to other parts inside the phone. After a careful operation, the battery was successfully removed.

Next, the key replacement link came. The repairman used instantaneous sensing technology for transplanting batteries. This is by no means an easy task, requiring the repairman to devote twelve points of concentration, extraordinary patience and superb skills. He first took out the set of Tweezers and screwdrivers specially used for delicate operations from the tool box. They flashed the unique luster of metal under the light, as if they were also waiting for the start of this precise "operation".

They guided the unique metal connectors under the light, waiting for the precise "operation" to begin. His eyes showed calmness and concentration. He picked up the screwdriver steadily, gently clamped the old battery cell where the original battery protection board and the battery cell were connected, and carefully melted the solder on the solder joint with a screwdriver. Every action was accurate to the millimeter. The slightest mistake could damage the protection board or the battery cell. After several minutes of concentrated operation, the protection board of the original battery was successfully separated from the old battery cell.
Then, he turned his attention to the 4400mAh battery cell of the prop. At this time, he took a breath and rested unconsciously. He picked up the screwdriver again, slowly moved the original protection board to the top of the new battery cell, adjusted the position, and began to solder with an Electric Soldering Iron. The temperature of the soldering iron is precisely adjusted to ensure that the solder can melt evenly without causing any thermal damage to the battery protection board. His eyes are fixed on the solder joints, and the soldering iron in his hand is like a smart paintbrush, moving back and forth between the solder joints. After a while, a solder joint is instantly connected, as if they should be like this. During the whole process, the repairman's current did not vibrate, and every movement was flickering and precise. An artist with superb craftsmanship created a precious work of art.

Through this rapid intervention micro-operation, the repairman not only achieved a significant upgrade in battery capacity, but also took advantage of the iPhone Battery Pop-up prompt that may be triggered by replacing a non-replaceable battery, bringing customers a better and more user experience.

In no time, the repair of this iPhone 12 Pro Max was completed. The device that was previously plagued by charging issues now runs perfectly, as if nothing had ever gone wrong. The credit for this seamless repair goes entirely to our skilled repair technician. From disassembling the device to transplanting the battery and making sure everything worked properly, his professionalism, patience, and precision throughout the repair process were truly admirable. Let's give a thumbs up to this amazing repair master!

If you find yourself in need of iPhone parts, whether it's a replacement battery, screen, or any other component, or if you're in search of High Quality Precision Repair Tools for your own DIY projects or professional repair work, look no further than phonefix company. We are committed to providing top-notch products and services to meet all your iPhone related needs. Trust Phonefix to be your reliable partner in keeping your iPhones in the best condition possible.


