Your Redmi K30 has always been a smooth phone to use. Yesterday, you were using it to handle work and browse the web without any problems. This morning, you pressed the power button to check the time, but the screen didn't light up. You long-pressed the power button, but the phone still didn't respond. It suddenly "froze". It was working just now, but why can't it turn on suddenly? This situation is really annoying and disrupts your rhythm of life.
Don't worry if your phone suddenly breaks down! Faced with the situation where your Redmi K30 suddenly cannot be turned on, the technicians at Chinafix have prepared a solution. Now, please follow the steps of Phonefix and solve the problem step by step so that your phone can be used normally again.

After the repairman got the Redmi K30, he judged from experience that it was most likely a common fault of the K30 that the problem with the Tail Plug board caused the phone to fail to charge. Because the 5V voltage of the tail plug could not be transmitted to the mainboard, the battery was depleted, and the phone could not be turned on.
To further confirm and solve the problem, the repairman began to repair it. The first step is the disassembly process, which requires a series of professional tools: a small and Precise Cross Screwdriver to unscrew the fixing screws on the back shell of the phone; a plastic crowbar with a soft texture that can carefully pry open the back shell of the phone and separate the body and the back cover without damaging the phone shell; and a set of tweezers to facilitate the removal of smaller parts during the disassembly process.
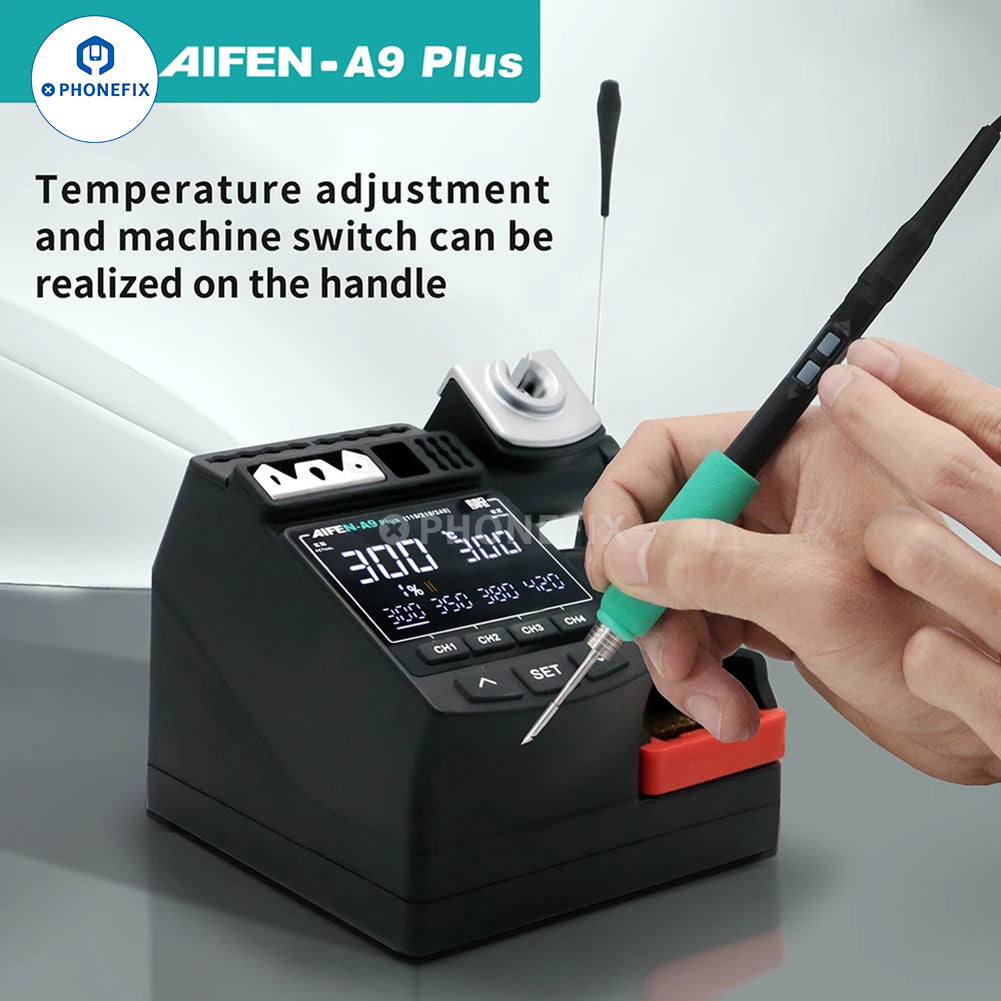
After completing the disassembly, the repairman used the voltage range of the Multimeter to accurately measure the battery voltage, and carefully checked whether the tail plug board could work properly to find the root cause of the fault. When inspecting and repairing the tail plug board, a Soldering Iron is also used to solder circuit solder joints that may be loose or damaged; and Solder Wire to provide the necessary materials for the welding operation. By using these tools together, the repairman gradually checked and fixed the problem, striving to restore the phone to normal.
After the repairman completed the test with the help of professional equipment, he determined the problem of low battery voltage. At this time, the battery voltage of the Redmi K30 was only 2.58V, while under normal circumstances, the mobile phone battery needs to reach a voltage of 3.6V or above before the phone can start normally. To solve this problem, the repairman used a Professional Ammeter to directly charge the battery, with the aim of activating the battery voltage to above 3.6V. After successfully raising the battery voltage to the standard range, the repairman reinstalled the battery back into the phone and performed a power-on test. It is gratifying that the phone started up smoothly, announcing the initial success of this repair.

However, a new situation soon emerged. The Redmi K30, which had just been able to start up normally, could not be charged. With rich experience, the repairman initially judged that the problem was still on the tail plug board. For further confirmation, the repairman found a detailed schematic diagram of the Redmi K30 on a professional repair website for reference. Afterwards, the master used a multimeter to conduct a detailed test on the docking station board. After a rigorous investigation, it was finally determined that the docking station board was disconnected, and it was this fault that caused the phone to fail to charge. Next, the master will carry out precise repair work on the disconnection problem of the docking station board, striving to completely solve the charging problem of Redmi K30.

Faced with the problem that the Redmi K30 tail plug board was disconnected and could not be charged, the maintenance master quickly conceived a solution with his rich experience accumulated over the years: through the flying wire, a wire was directly connected from the small board tail plug 5V to the mainboard, restoring the normal charging path.
The maintenance master first selected an extremely thin and flexible enameled wire. The diameter of this wire is only a few tenths of a millimeter, but it can carry a stable current and is an ideal material for flying wire operation. Then, he used a High-precision Hot Air Gun to accurately adjust the temperature to the appropriate range and carefully heated the solder joints of the tail plug board. Under the action of high temperature, the originally solidified solder at the solder joint gradually melted and showed a liquid luster.
At this time, the maintenance master was quick-eyed and quick-handed, and used tweezers to accurately clamp one end of the enameled wire and place it steadily on the solder joint of the tail plug 5V. After the enameled wire and the solder joint are completely combined and the solder re-solidifies, the flying wire is fixed to the tail plug end. Then, the master carefully looked for the corresponding connection point on the motherboard according to the circuit layout diagram of the Redmi K30 motherboard (as shown below).

After finding it, he used the hot air gun and Tweezers again, with the same exquisite skills, to firmly weld the other end of the enameled wire to the designated position of the motherboard. After the flying wire operation was completed, the master conducted a comprehensive inspection of the welding points to ensure that the enameled wire was firmly connected and there was no cold soldering or short circuit at the welding points.
The master accurately installed the repaired motherboard back to the Redmi K30 and turned it on, and the phone successfully entered the system. Then, the master tested each function in turn. After connecting the charger, the phone charged normally and the power met the standard; the WiFi connection was fast and the network speed was smooth; the music playback sound quality was clear and the volume adjustment was smooth; the compass pointer pointed accurately when the phone was rotated; the vibration mode feedback was uniform and powerful; the handset dial tone was clear when making a call, and there was no noise or delay in the voices of both parties on the call. After a comprehensive inspection, the functions of the mobile phone were normal and the repair work was successfully completed. The master cleaned the Workbench, put the tools back in place, and packed the fully functional mobile phone, waiting to be delivered to the user.

Let's give a warm applause to this repair master! With his superb skills and rich experience, he successfully overcame many faults of Redmi K30, making it look brand new and back in the hands of users. If you are also a manual repair expert who is keen on DIY repairs and has strong hands-on skills, and are eager to show your skills in the field of mobile phone repairs, then ChinaPhonefix's Professional Mobile Phone Repair Tools are definitely your right-hand man to help you overcome the many obstacles on the road to repair. Don't miss it!


