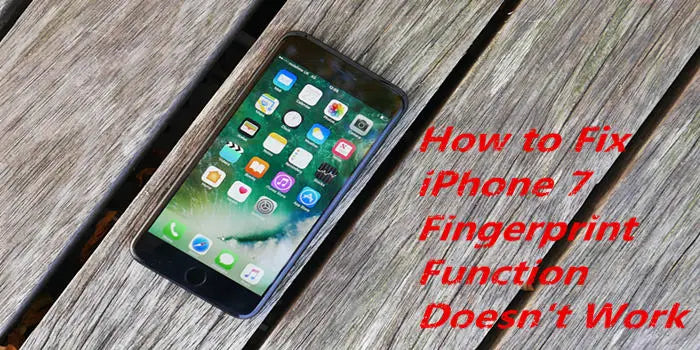
Power off the iPhone 7 Plus, use phonefix screwdriver to remove the screws next to the iPhone lightning port, put iPhone 7P on a Screen Separating Machine for heating, and then use LCD sucker to open the iPhone screen. Take off the iPhone display assembly.

Use BGA removal blade to cut off the FPC connector cable, and then carefully to scratch the black glue on the cable, now we can see the circuit on the cable.
Take a new iMesa Touch ID Flex Cable, use BGA blade to cut off a bit of cable. Apply some solder paste to original iPhone fingerprint cable, and then place IMesa fingerprint flex cable to the original iPhone fingerprint cable, make sure the circuits are connected correctly.

Apply some green UV oil to the connections of the two flex cables with tweezers, and then put it under a UV lamp light to solidify it.
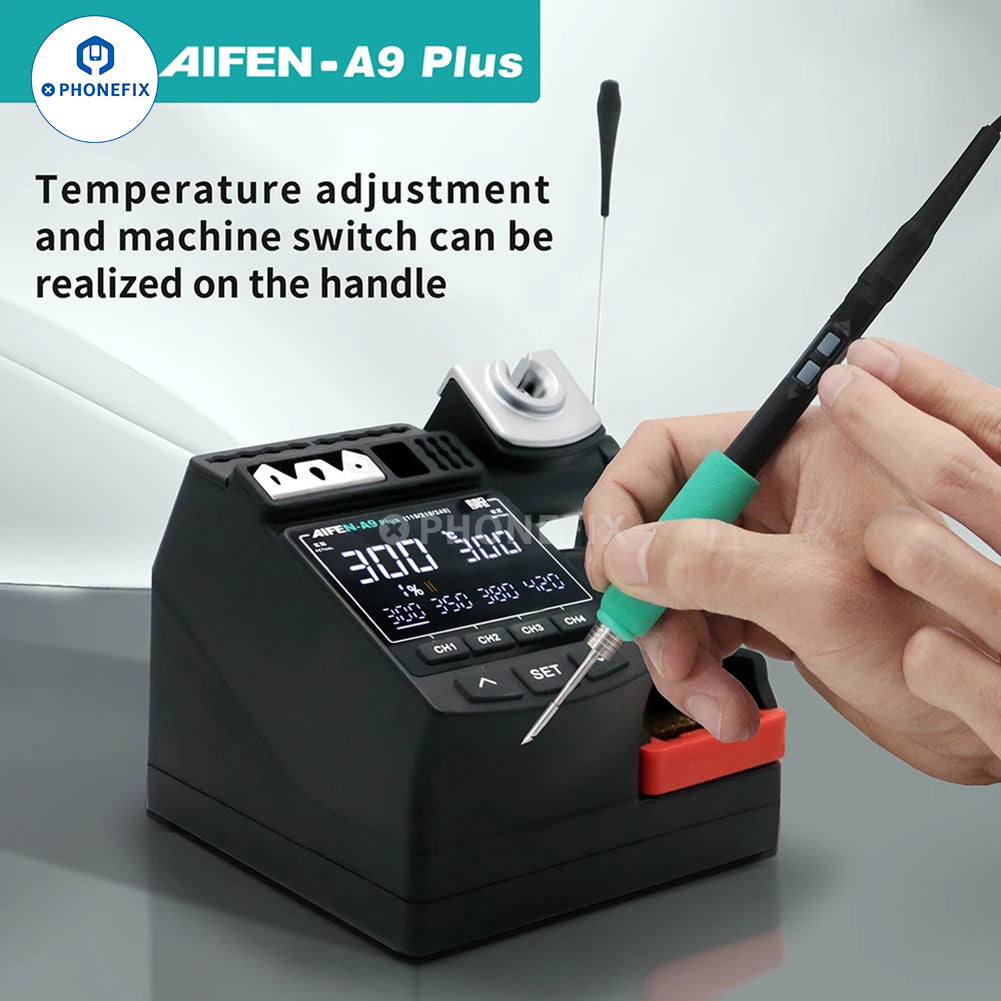
Now apply some solder paste to the flex cable, and then use soldering iron to solder a jump wire from the both sides of the flex cable. Follow the original circuit marks to solder the jump wire one by one to connect both cables.
Once done, apply some green UV oil to cover those jump wires, and then use Qianli UV Light to solidify it.

Hope the above repair method is helpful to you. If you have other questions about the iPhone 7 Plus, please leave a message in the comments.


1 comment
Rajkumar Kale
The DIY Fix Tool blog offers step-by-step guidance on resolving the fingerprint function issue on iPhone 7 Plus devices, providing a valuable resource for users encountering this problem. By outlining the potential causes and offering detailed instructions, it empowers readers to troubleshoot and potentially fix the issue themselves, saving time and money on professional repairs. Following the suggested steps could help iPhone 7 Plus owners restore the functionality of their fingerprint sensors and enhance the security and convenience of their devices.