 Skip to content

Disassemble the iPhone 6S by phone opening tools, remove the iPhone display assembly.
Measure the iPhone 6S current by DC power supply, it leaks 60mA, and when we press the power button, it leaks 120mA, and then back to 0mA, it jumps like this over and over again.
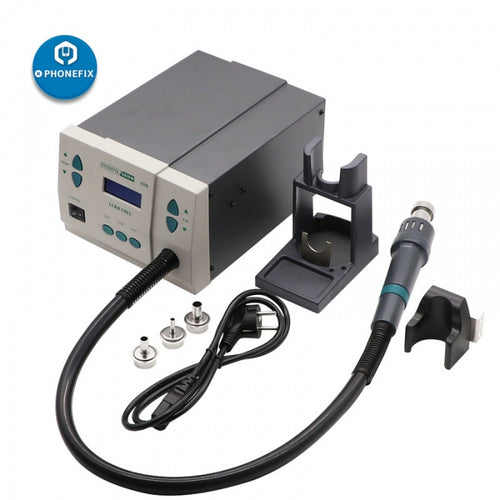
Remove the iPhone motherboard, there are corroded traces on the iPhone motherboard. Attach it the iPhone PCB holder fixture, use Phonefix 861DW hot air rework station to remove the iPhone CPU and the shield of the iPhone baseband, we found the corroded position are mainly focus on iPhone backlight power supply IC U4020, iPhone display power supply IC U4000, iPhone charge management IC U2300 and iPhone small audio IC U3700.
Put iPhone motherboard into the Ultrasonic Cleaning Machine to clean it, after cleaning, measure the iPhone motherboard again, now the leakage current is smaller than before, only about 20mA. Press the power button, the current jumps from 70mA to 0mA repeatedly.

Disconnect the power supply and then measure the diode data of the I2C Bus, they were 404 and 430, it's normal. Check the corrosion position, we suspected the iPhone display power supply IC is damaged, so use Phonefix 861DW hot air rework station and Mechanic Tweezers to remove the iPhone display power supply IC U4000.

As we know, both the iPhone power IC U2000 and iPhone backlight IC U4020 can cause this failure. The iPhone backlight chip U4020 causes the turn on failure is related to two groups of signal. One is I2C0 bus, the other is backlight brightness adjustment signal, it's backlight chip DWI bus which runs to power supply and CPU.
The iPhone backlight IC DWI bus has SDI and SCK two signals. By measuring the diode data, we can know whether backlight chip U4020 is workable or not. We can use a digital multimeter to measure the SCK signal on the resistor R4020 and to measure the SDI signal on the test point PP1002.
After measuring the diode data of the R4020, it's short-circuited. Use Phonefix 900W 861DW hot air rework station and tweezers to remove the U4020, and then supply power to the motherboard to boot it, now the current is more than 1A, which is normal.
Press the power button, the Apple logo appears normally, and then enters IOS system properly. Test the iPhone functions, they all works well.
Hope all is well with your iPhone. If you have other questions about iPhone 6S, please leave a comment in the comments.


