Diagnosing power issues and booting a phone during repairs is a critical part of the mobile phone repair process. Faulty power systems can manifest in various ways, from a completely unresponsive device to erratic behavior. A structured diagnostic process can save time, prevent costly mistakes, and ensure the phone is safely restored to working condition.
2. Understanding Power Issues in Smartphones
Power issues in smartphones often stem from one or more of the following causes:
Battery Malfunctions: iPhone Batteries can degrade over time, swell due to overheating, or stop holding a charge altogether.
Power IC (Integrated Circuit) Failures: The power management chip may malfunction, causing charging or booting problems.
Short Circuits: Overvoltage or water damage can create shorts in the motherboard, affecting key components.
Connector and Peripheral Issues: Loose or damaged battery connectors, charging ports, or flex cables can interrupt power flow.
Key Symptoms:
The phone doesn’t respond to the power button.
The phone powers on but immediately shuts down.
Unusual battery drainage or overheating during use or charging.
3. Essential Tools for Diagnosing Power Issues
To effectively diagnose power issues, having the right tools is essential:
Power Supplies: Devices like the Aixun P3208 allow precise control over voltage and current, making it easier to detect and isolate power issues.
Power Boot Cables: Tools such as the MiJing DY-11 FPC power cable simplify testing phone motherboards by simulating battery connections.
Multimeters: For measuring voltage, current, and resistance to identify short circuits or other anomalies.
Thermal Cameras or Alcohol Testing Kits: Helpful for pinpointing overheating components during diagnostics.
Basic Repair Tools: Screwdrivers, tweezers, and magnifiers ensure proper handling of internal components.
4. Diagnosing Power Issues: Step-by-Step
Step 1: Perform a Physical Inspection
Look for visible signs of damage such as swollen batteries, cracked connectors, or corrosion caused by water exposure.
Step 2: Test the Battery
Use a digital multimeter to measure the voltage of the battery. A reading below 3.7V typically indicates a discharged or faulty battery.
Consider replacing the battery if it doesn’t meet standard voltage thresholds.
Step 3: Use a Power Supply to Test the Mainboard
Disconnect the battery and connect the phone’s mainboard to a power supply.
Set the power supply to 4.0V (typical battery voltage) and monitor the current draw.
No Current Draw: Indicates a complete power circuit failure.
High or Irregular Current Draw: Points to short circuits or damaged components.
Step 4: Locate Short Circuits
Use thermal imaging or apply a small amount of alcohol to the suspected area. Shorted components often heat up and evaporate the alcohol quickly.
Step 5: Replace Faulty Components
Identify and replace malfunctioning components like capacitors, resistors, or ICs using professional soldering tools.
5. Booting Your Phone After Repairs
Step 1: Prepare the Phone for Boot
Ensure all connectors (e.g., battery, screen, and peripherals) are securely in place.
Step 2: Connect a Power Boot Cable
Attach the MiJing DY-11 FPC power boot cable to the motherboard.
Plug the cable into a power supply, setting the voltage and current to appropriate levels (e.g., 3.8V, 1.5A).
Step 3: Initiate the Boot Process
Trigger the power button or manually short the power pins on the motherboard to simulate the power button action.
Step 4: Observe the Current Behavior
A stable current reading on the power supply indicates a successful boot.
An erratic or high current draw may indicate remaining issues, requiring further inspection.
6. Troubleshooting Common Problems During Boot
Phone Won’t Boot:
Possible Causes: Faulty power IC or corrupted firmware.
Damaged NAND or CPU preventing proper operation.
Erratic Current Behavior:
Check for: Residual short circuits.
Loose or damaged connectors.
Overheating Issues:
Causes: Improper installation of components or overheating ICs.
Solution: Reapply thermal paste or replace the overheated components.
7. Best Practices for Diagnosing and Booting
Invest in Reliable Tools: Use high-quality power supplies and cables like the Aixun P3208 and MiJing DY-11 to ensure precision and safety.
Document Your Process: Record each repair step to help identify patterns in recurring issues.
Handle Components Carefully: Use ESD-safe tools to avoid static discharge damage.
Stay Updated: Keep learning about the latest repair techniques and phone models to tackle evolving challenges.
Diagnosing power issues and successfully booting a phone are essential steps in the repair process. By combining systematic troubleshooting, reliable tools from China Phonefix, and professional techniques, technicians can ensure accurate repairs and long-lasting solutions. Whether you’re repairing an iPhone, Android device, or another model, following these steps can help you achieve consistent results.
How to Diagnose Power Issues and Boot Your Phone in the Repair Process
#DIYRepairDiyfixtool Ci

Popular posts
-
 How to Slove with Charging Paused Battery Temperature too Low?Battery TemperatureSep 16, 2024
 -
 How to Resolve iPhone Non-Genuine Battery Pop-up with i2C KC02S?Battery Pop-upMar 06, 2024
 -

-
 7 Ways To Fix Charging Stopped Phone Temperature Is Too LowCharging IssueMay 20, 2022
 -
 Cell Phone Repair Technician's Workstation Setup Ideas & ToolsPhone Repair BusinessDec 23, 2023
PHONEFIX HOT SALE


PHONEFIX
PHONEFIX Polish Grinding Pen PCB Board BGA Chip Removing Repair
Sale priceFrom $0.99 USD
Regular price$2.59 USD
In stock

PHONEFIX
AIFEN A9 Plus Digital Display Soldering Station With T210/245/115 Handle
Sale priceFrom $75.55 USD
Regular price$86.99 USD
In stock

PHONEFIX
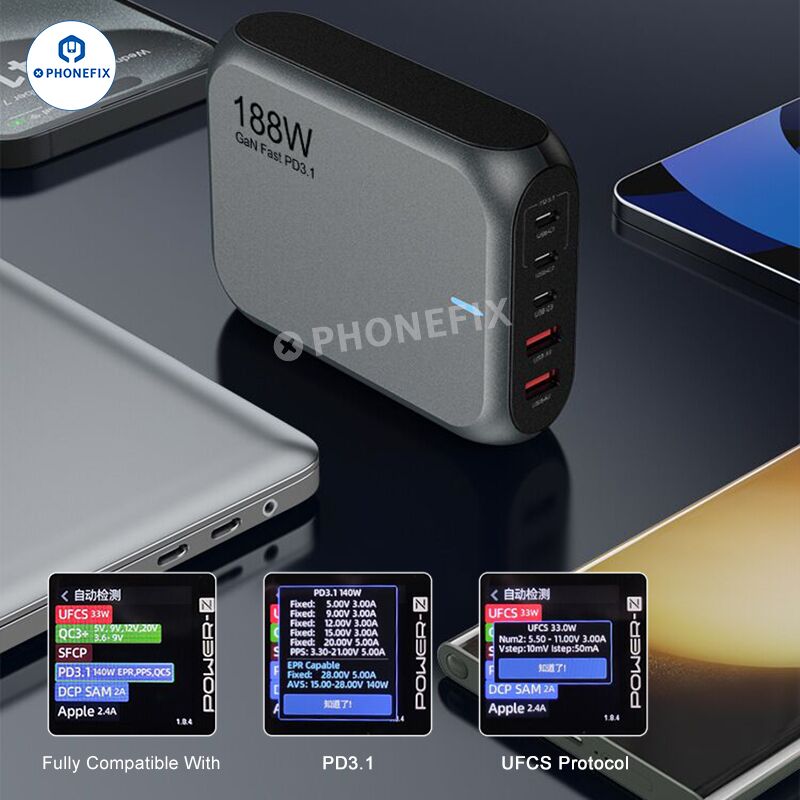
188W GaN Charger Phones Laptops PD3.1 Fast Charging Station
Sale price$35.99 USD
Regular price$38.99 USD
In stock


