Fix iPhone X Bottom Speaker Not working
After being dropped, iPhone X comes with no bottom speaker sound. Check the article to see how to replace the primary iPhone loudspeaker at the bottom of the phone for repairing iPhone X bottom speaker not working.
Step 1: Remove the display assembly.
1. Remove the two screws at the bottom edge of the iPhone. Use a CPB Screen Separator to soften up the adhesive underneath of the iPhone screen.
2. Clamp suction cups near the bottom edge of the iPhone and slightly separate the screen from the rear case of the phone.
3. Remove the suction cup from the front panel, though pull on the small nub.
4. Swinging the display up from the left side, open it and make sure the frame comes off with the display and doesn't get stuck in the device.
6. Remove five screws securing the logic board connector bracket, and remove the bracket.
7. Pry the iPhone X battery connector up from its socket on the logic board. Disconnect the front panel sensor assembly connector and the OLED panel cable connector.
8. Pry the digitizer cable connector up from its socket. Carefully lift the cable until the adhesive separates. Remove the iPhone X display assembly.
Step 2: Remove the speaker
1. Remove the seven screws securing the bracket below the Taptic Engine and speaker. Lift the bracket from the edge nearest the battery, and pry up and disconnect the flex cable underneath.
2. Remove the bracket, and the screw securing the speaker connector cover. Take away the speaker connector cover.
3. Pry up and disconnect the speaker connector with a spudger, and hold it to one side, so the speaker has room to come out.
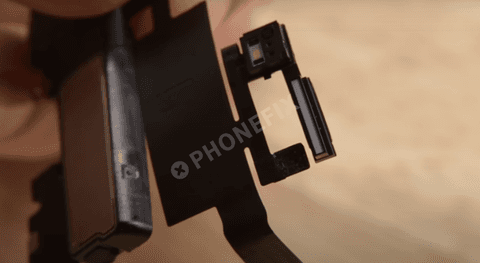
4. Lift the top edge of the speaker. Hold the edge of the speaker and shake it from side to side to separate the adhesive that holds the speaker to the bottom edge of the iPhone.
Step 3: Test
Install a new speaker and test the sound. Everything goes well.
Basic Opening Tools Kits you can use for the iPhone X speaker repair: