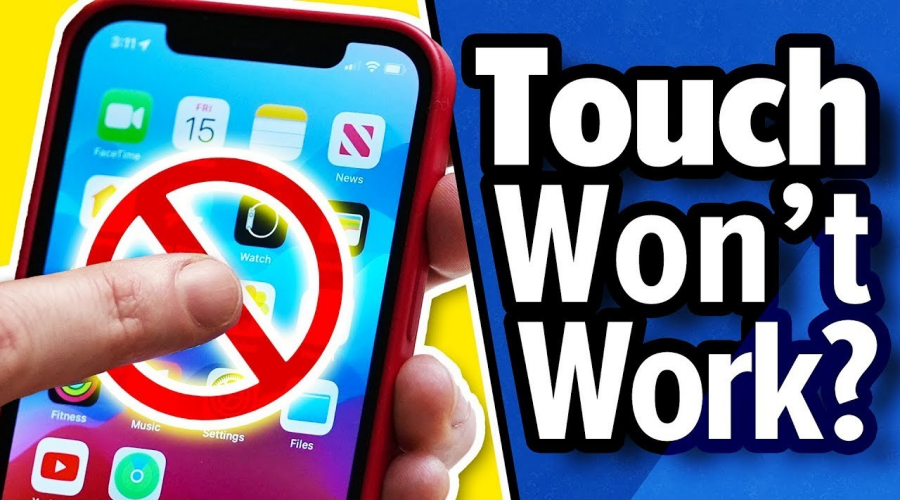
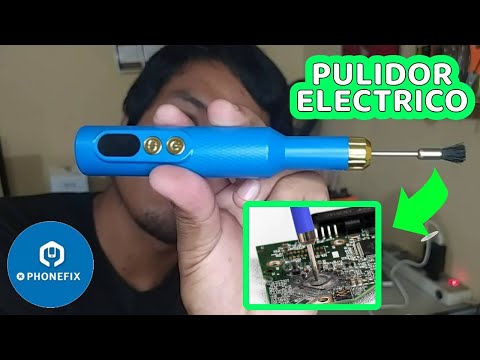
Experiencing an unresponsive touch screen on your iPhone can be incredibly frustrating. While it’s often tempting to seek professional help, there are steps you can take to address the issue yourself. With the right phone repair tools and techniques, you can potentially fix the problem without the need for expensive repairs.
Step 1: Power Cycle Your iPhone
Before diving into physical repairs, start by simply restarting your iPhone. Sometimes, an unresponsive screen can be a software glitch that a quick reboot can resolve. Hold down the power button and slide to power off, then turn your iPhone back on after a few seconds.
Step 2: Inspect for Physical Damage
Check if there is any visible damage to the screen or if it is loose. This could be an indicator of a more severe issue. If the screen appears intact but is still unresponsive, proceed with the following steps.
Step 3: Prepare Your Workspace
Ensure you’re working in a clean, static-free environment. For this, anti-static gloves like the Anti Static Gloves PU Coated ESD Safe Electronic Working Gloves are invaluable. They help prevent electrostatic discharge that can damage sensitive internal components during the repair process.

Step 4: Open the iPhone
To access the internal components, you'll need to carefully remove the screen. The Plastic Suction Cups Sucker Phone LCD Screen Opening Tool is perfect for this task. Its strong suction power allows you to lift the screen gently, without causing damage to the glass or the device.

Step 5: Check Connections
Once the screen is lifted, inspect the internal connectors for any loose or disconnected cables. If any connections seem problematic, carefully reconnect them. This can sometimes resolve issues with screen responsiveness.
Step 6: Clean Internal Components
Use the Mechanic iClean DV Digital Vacuum Ultrasonic Cleaner to clean any dust or debris around the connectors and internal components. Its ultrasonic cleaning function ensures that all areas are thoroughly cleaned without causing damage, which is crucial for restoring proper functionality.

Step 7: Reassemble and Test
After cleaning and reassembling your iPhone, test the touch screen to see if the issue has been resolved. If the screen is still unresponsive, you may need to consider further diagnostics or professional repair services.
Addressing an unresponsive iPhone touch screen yourself is achievable with the right approach and tools. By using anti-static gloves, suction cups, and an ultrasonic cleaner, you can perform a thorough and careful repair.
The screen replacement toolkits suite assists you in getting the job done, containing all the necessary tools for screen replacement and other repair tasks. If you follow these steps and still face issues, seeking professional assistance might be the best course of action. Remember, proper handling and care can make a significant difference in the success of your DIY repair efforts. If you need some PHONEREPAIR TOOLS, CHINA PHONEFIX would be a good choice.


